

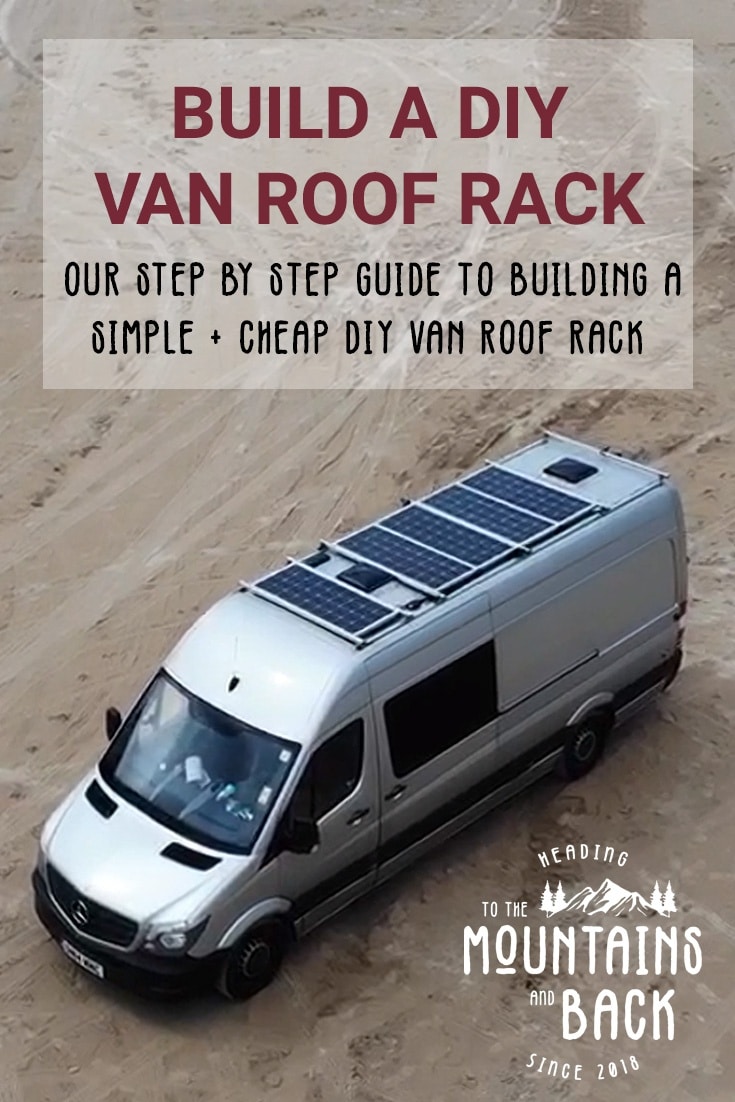
How to Build a DIY Van Roof Rack
There are a lot of options out there for roof racks on your van, and even more options for mounting your solar panels. Some of these options really aren’t cheap! We opted to make a DIY van roof rack during our van build mainly to save a bit of money but also because it gave us maximum flexibility on how we mounted our solar panels.
Why a DIY van roof rack?
Don’t get me wrong, we look at some of the amazing van conversions out there with Aluminess roof racks and are seriously envious! Their kit looks awesome! Being in the UK it’s much more costly to go for that option, although there are some brilliant van outfitters based in the UK now doing similar designs. We didn’t research these throughly as all we needed was a really simple set up purely to mount our solar. I love the idea of decking on the roof of the van as well as using it for additional storage but our current build is heavy enough, and we’ve not used all our internal storage yet anyway!
Other options we looked in to whilst researching van ideas were off the shelf commercial roof racks. These are often less discreet however, and were a lot more expensive than I thought. We decided the best option was to make our own roof rack out of aluminium. It needed to be sturdy, lightweight and secure our solar panels around the roof ventilation. We’ve also attached our external security cameras to the rack so we can see what’s going on around us when parked up.
What do you need?
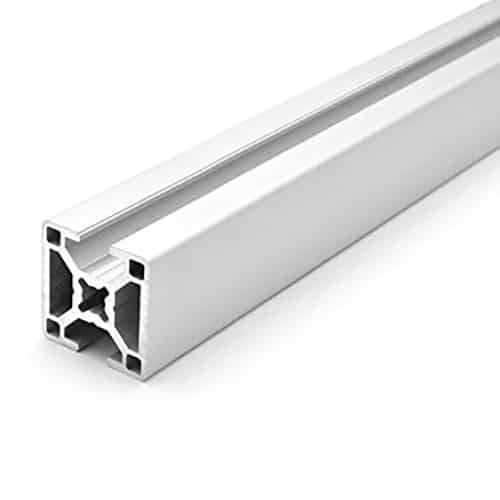
We settled on a simple design that allowed our solar panels to be positioned just above the roof of the van. This also ensures total flexibility for the future. We used 30×30 2N aluminium profile on both the length of the van and cross bars for the solar panels. This profile features two flat sides opposite each other and two sides featuring an 8mm slot down the length. We chose this style to give a smooth surface on the outer edge of the van.
You will need:
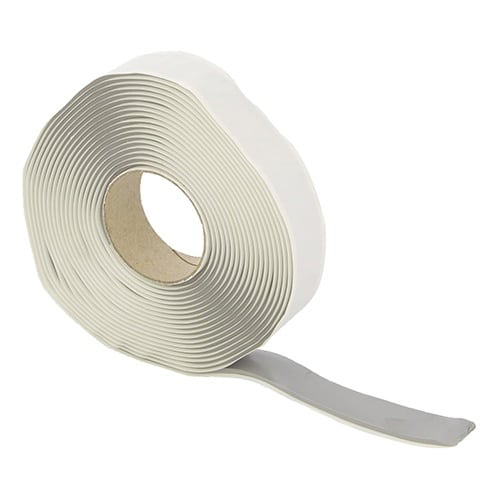
- Mastic Sealing Tape
- 30×30 2N Aluminium Profile (we used 2 x 4100mm and 5 x 1400mm, purchasing longer lengths from www.aluminium-profile.co.uk)
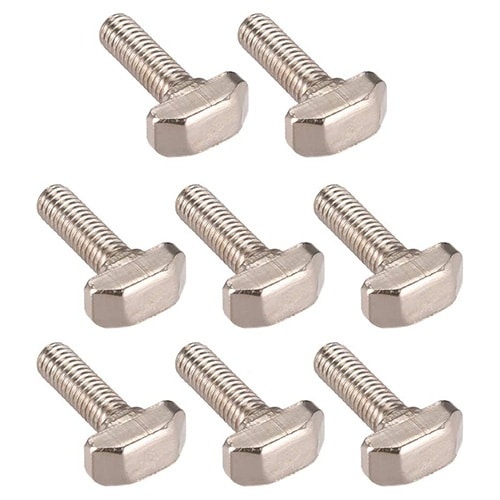
- M6x25 T-Bolt & Nut (enough for roof bars, cross bars and brackets)
- 30×60 Brackets
- 30×60 Bracket Cover Caps
- 30×30 End Caps
DIY Roof Rack Installation Process
1. Clean the roof
- Unless you’re working on a brand new van the chances are there’ll be some dirt to get rid of! Make sure the channel that runs down the length of your van that you’re fixing the aluminium to is completely clean and treat any rust that’s present.
2. Install aluminium profile on roof
- It’s easiest to install your roof rack early on in the build so you can easily access the inside of your van’s roof. Our van, along with may other models, features a channel in the roof with pre-drilled holes to attach a roof rack. These holes have plastic caps in them when not in use.
- We drilled through the plastic caps to keep the holes as small as possible but you could also remove them.
- Run mastic sealing tape along the full length of the van in the channel where the aluminium will sit. It should fully cover the holes in order to ensure your van is 100% water tight.
- Neither of us can remember exactly how we did this next bit! We think we pushed a pencil or similar up through the holes in the roof from inside the van. Essentially, you need to work out where the holes are (now they’re covered in tape) as well as create a hole to limit the amount of mastic tape that gets on the thread of your T-Bolts otherwise they’ll be harder to secure.
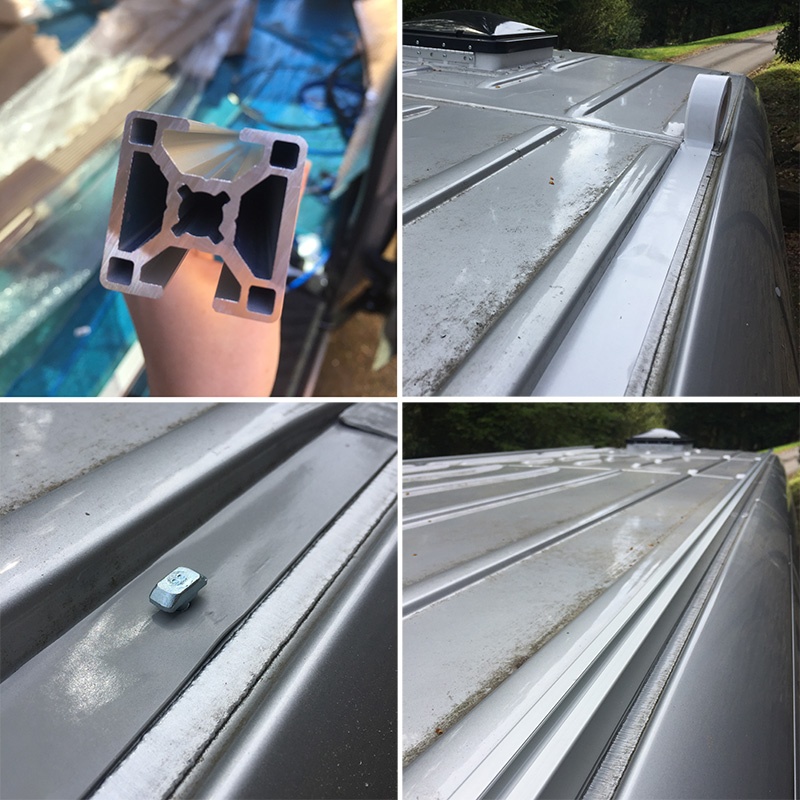
- Put a T-Bolt in each hole ensuring the head of the bolt runs parallel with the side of your van. Don’t push them all the way in as there needs to be room for them to twist and lock. This ensures they’ll slide easily into the channel/slot in the aluminium. This can be a bit fiddly! Once they’re all lined up push your aluminium into place along the roof.
- Head back inside the van, you should hopefully be able to see the thread of each bolt coming through the holes in the roof of your van. We twisted each bolt 90º by hand to ensure it locked in place in the aluminium channel (it should do this anyway when tightened) and secured using a large flat washer and nut.
- Once all your T-Bolts are secure the aluminium should be pulled tight against the mastic tape and van roof. Repeat on the other side of your van.
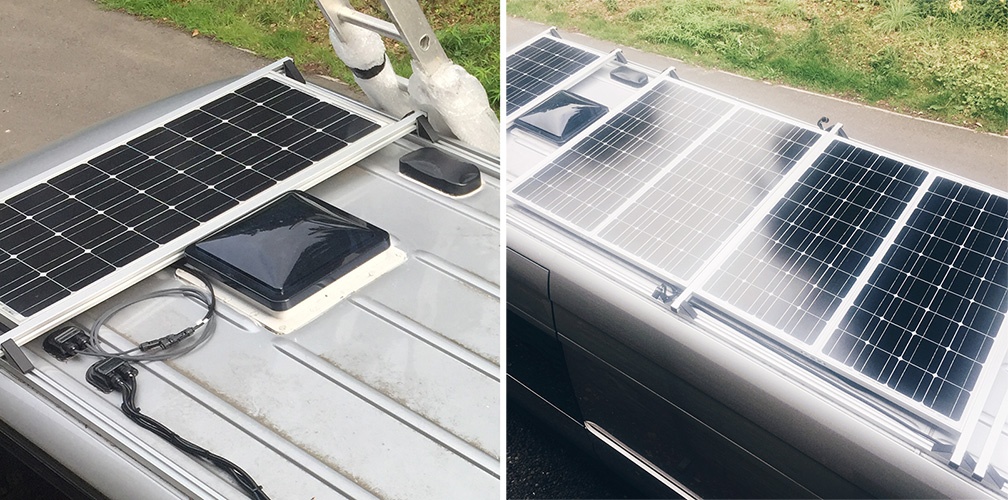
3. Attach aluminium profile to solar panels
- We have 5 100w solar panels. One sits above the cab in front of our fan, the other four are in the middle between our front and rear fan.
- Our solar panels have a metal frame around 30mm deep. We drilled holes equally along the frame and then attached the aluminium profile to this metal edge. To do this simply slot T-Bolts into the channel in the profile, through your pre-drilled holes in the solar panel and secure with a nut on the other side. As you tighten the nut the T-Bolt will turn and lock securely in place in the aluminium channel.

4. Secure solar panels to the roof
- Once your solar panels are attached to the aluminium bars that will run across the roof, all that remains is to attach these bars to the aluminium running the length of the van on either side.
- To attach the two together we used triangular 30×60 brackets. These are fixed in to the aluminium attached to the van roof and then attached on either side of the solar panel bars. We used T-Bolts in the channels with nuts to secure in place
5. Finishing touches
- Everything should now be secure and tight on the roof of your van.
- We finished everything off by adding end caps to all the aluminium bars and bracket cover caps to all the triangular brackets.
What did it cost?
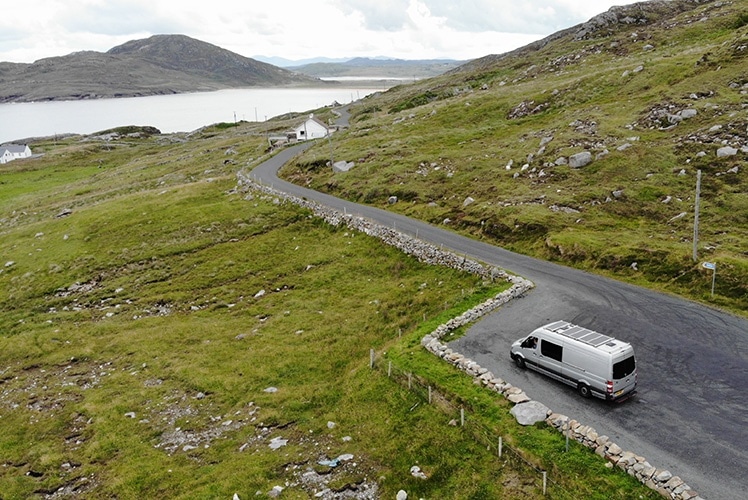
In a nutshell that’s how we constructed our DIY van roof rack. It’s been on our van for over two years now and we’ve had no problems at all with it. Everything is still fixed, secure and fully watertight. I should point out we’re not experts but so far so good! We installed this on a Mercedes Sprinter van but I can’t see why a similar install wouldn’t work on other flat-roofed vans.
Excluding our solar panels our DIY van roof rack cost us £251.98 inc vat. This was considerably cheaper than commercial roof racks we were looking at, many of which started at upwards of £500.
We hope you’ve found this post useful. If so, you can help us keep our content going by clicking our Amazon UK or Amazon US links before your next purchase from Amazon (we’ll earn a small commission but it won’t cost you any more). Alternatively we’d love a virtual coffee. We’ll most likely spend it on dog treats for Piglet but you get the idea!
This page contains affiliate links. We make a small commission on purchases made through these links at no extra cost to yourselves.
Like this post? Pin it!


I am looking to make my own. What do you recommend for a ram 2500 van 159 wheel base?
I’m afraid I don’t know that particular vehicle and we have only ever made the roof rack for our own van. If you follow these instructions you should be able to make something similar work.
Have you since designed a fairing so your van is more aerodynamic?
No, the panels don’t stick up very high on the roof and there’s not really any noise or anything from it. I think the difference to the fuel economy would be negligible as it’s so low on heavy vans anyway.