

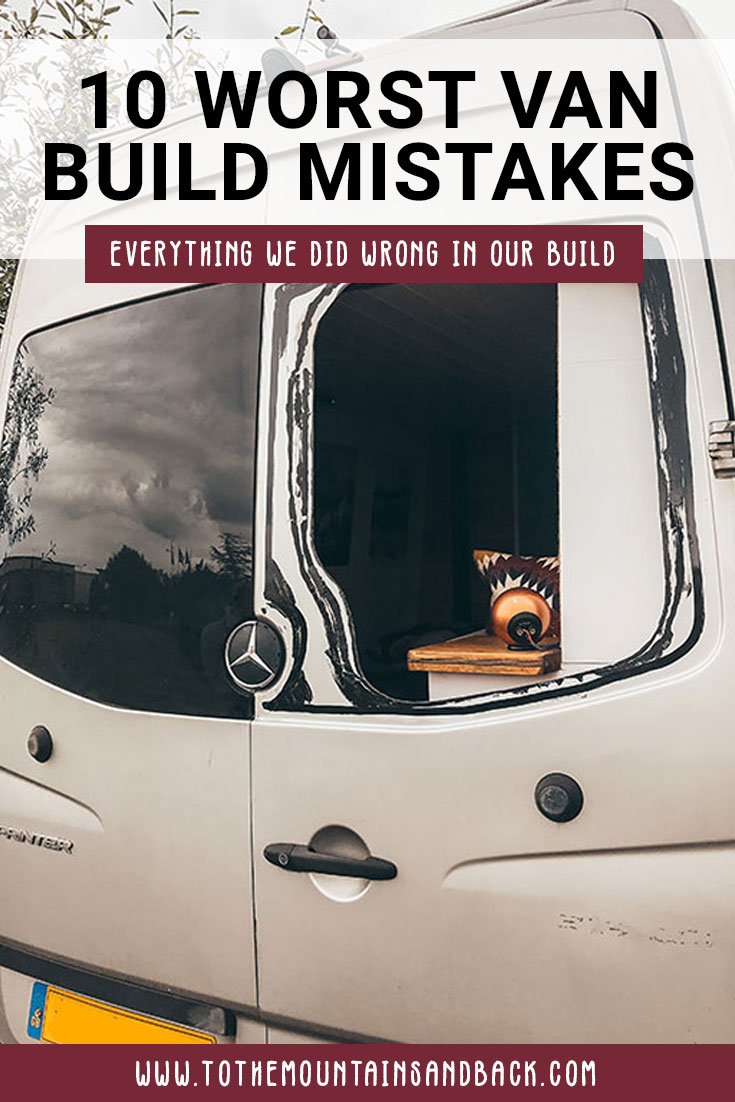
Our 10 Worst Van Build Mistakes
About to embark on your first van build? Congratulations! We know how exciting it is and how eager you can be to jump right in. Get these first few planning stages right and we’re sure your van conversion will go perfectly.
We did lots of research for our van and yet we still made a few mistakes during our build that we’d definitely try and do differently on another conversion. We recently wrote about the changes we would make to our van if we were to do it again, and it’s one of our most popular articles. So, we decided it was time to own up to all the mistakes we made during our build as well! We hope you’ll find our experience helpful, and hopefully you can avoid some of the pitfalls we fell in to!
Mistakes will happen during your van build!
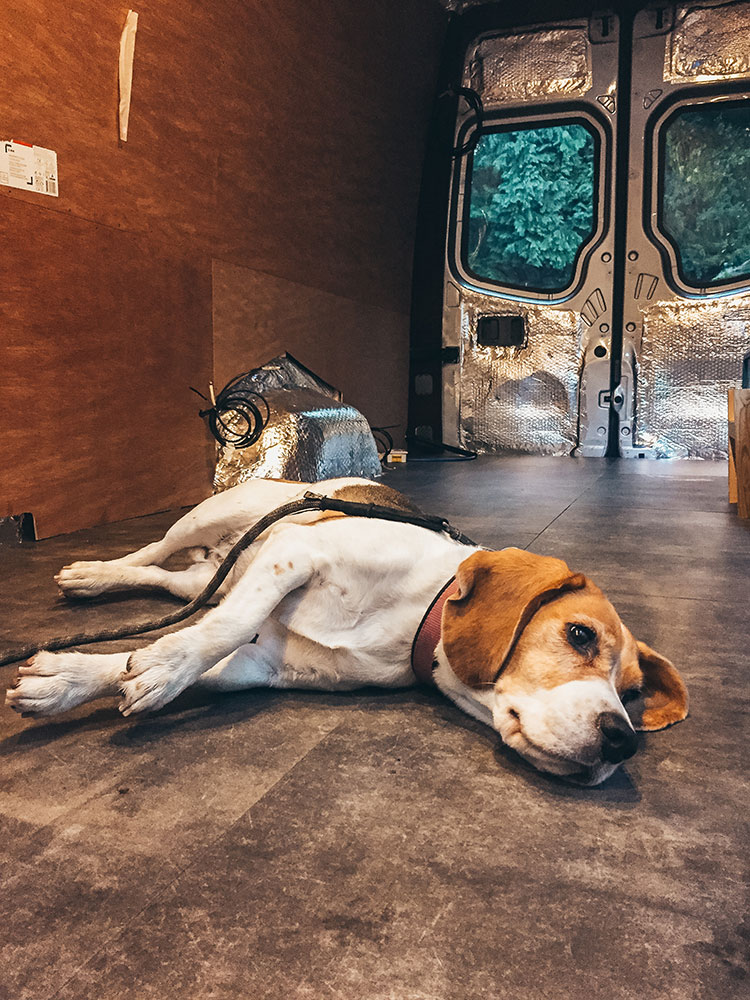
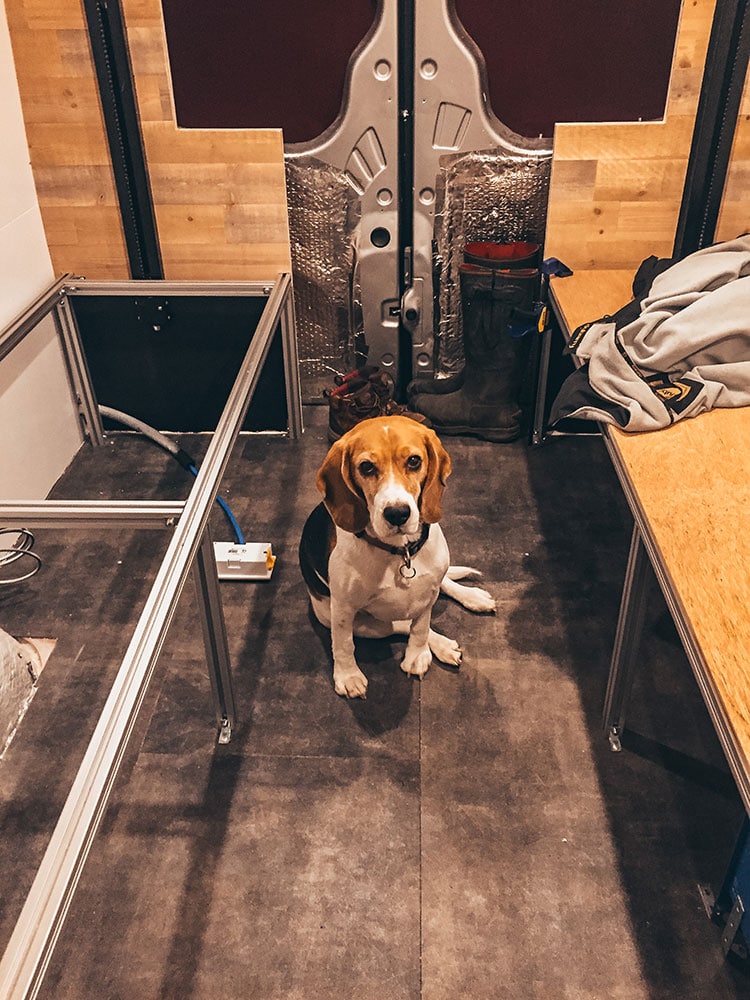
Building a van for the first time is definitely a steep learning curve! Even with lots of research and planning it’s easy to make a few bad decisions. Our van is the first and only van we’ve converted so far and despite what it may look like from the carefully crafted photos we definitely made some mistakes during the build!
We’re often asked how much experience we had before embarking on our van conversion. The honest answer is very little! Well, I guess that’s not entirely true, Will is fairly handy and is happy to do DIY type jobs. He also works with electrics for a living, so whilst he’s not a qualified electrician that skill was definitely useful!
I think it’s fair to say I’m less experienced. I love designing spaces and have also done some DIY but I wouldn’t exactly say it’s a skill of mine! When I was younger my family had a little two room, off-grid cottage we slowly renovated on a shoe-string budget. As children we were given lots of little jobs to do but my knowledge of mixing cement didn’t exactly help on a van conversion!
In order to plan our build we mostly searched online for van build ideas, found what we liked and researched how to make it happen. For the most part this was pretty successful! We undoubtedly made lots of little mistakes along the way; incorrect templates, cutting wood slightly the wrong length, underestimating how much of something we would need etc. There’s a few mistakes, however, that definitely stick in my mind!

Our 10 worst van build mistakes and how to avoid them
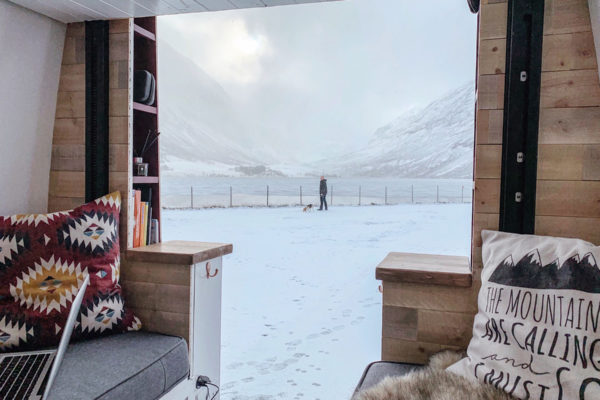
1. Layout – Finalise your layout as early as possible
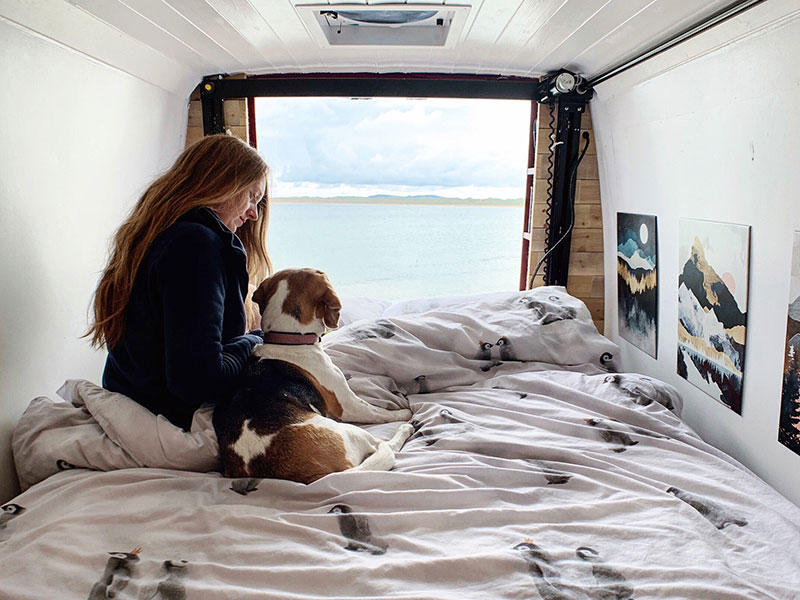
We put quite a bit of thought into our van layout, however we didn’t completely finalise it until our Happijac bed lift was delivered. We ran electrics, insulated and installed ventilation before we decided on our final layout. I don’t recommend this!
Luckily this has only caused us one major issue and that’s with our ventilation. We have two fans, a Maxxair fan in our kitchen and a Fantastic Fan at the back of the van. Sadly, the one at the back is usually covered by our bed!
We weren’t 100% sure we would manage to get our bed lift to the UK and it took quite a few months of planning to get it ordered, shipped and delivered. As we were keen to get on with our build we jumped right in and did everything we could whilst waiting for it to arrive. Once we got it installed we realised we were now blocking our rear fan when the bed was up (yeah, that should have been obvious!).
It’s not a major disaster as we can still vent with our kitchen fan to get rid of moisture. The main time it’s an issue however is in hot weather when we need two fans for air circulation. During the day we open all the doors, and at night we use the two fans together to keep us cool, which works brilliantly.
It’s not perfect, and is certainly one to think about if you’re also using a bed lift in your build. On the other hand, I’m not sure where else we could position a second fan to avoid the bed space, so in reality we might not have done it differently anyway. Essentially, we recommend finalising the major parts of your layout before cutting any holes in your van!
2. Side Strip – Make sure you seal it!
Mercedes Sprinter vans have a few areas where it’s possible for water to get in to your van. The main culprit is behind the plastic side strips. These plastic strips push in to clips all the way along the van. Water can easily pour behind the strips and in to your van through these holes.
Before you start insulating you need to remove the side strips and then seal the holes with Sikaflex before re-attaching the plastic strip. This will stop water getting in and soaking your insulation. Unfortunately, this is one thing we didn’t realise before starting our build and we didn’t do this.
It could have been a major van build mistake but we were actually really lucky. When we did eventually remove our side strips they were in pretty good condition and the clips were quite tight, so it didn’t look as though much water could have got through to our insulation… fingers crossed.
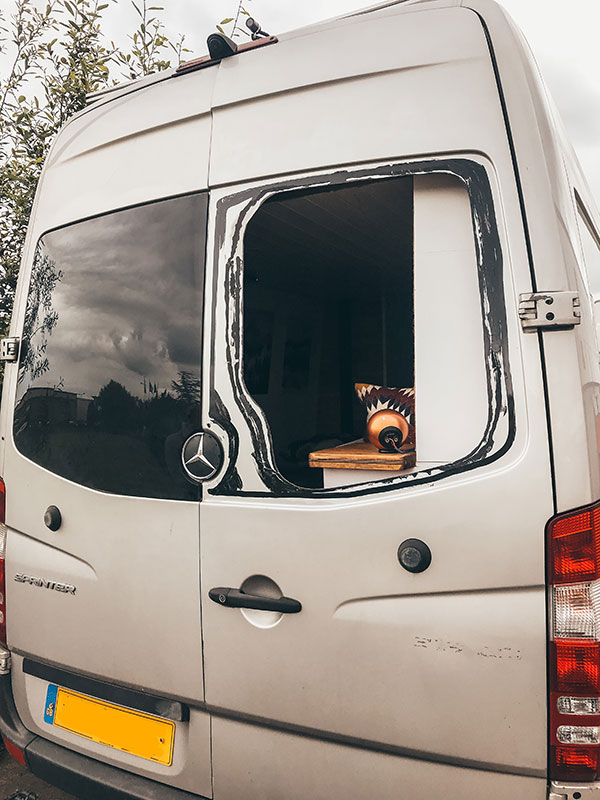
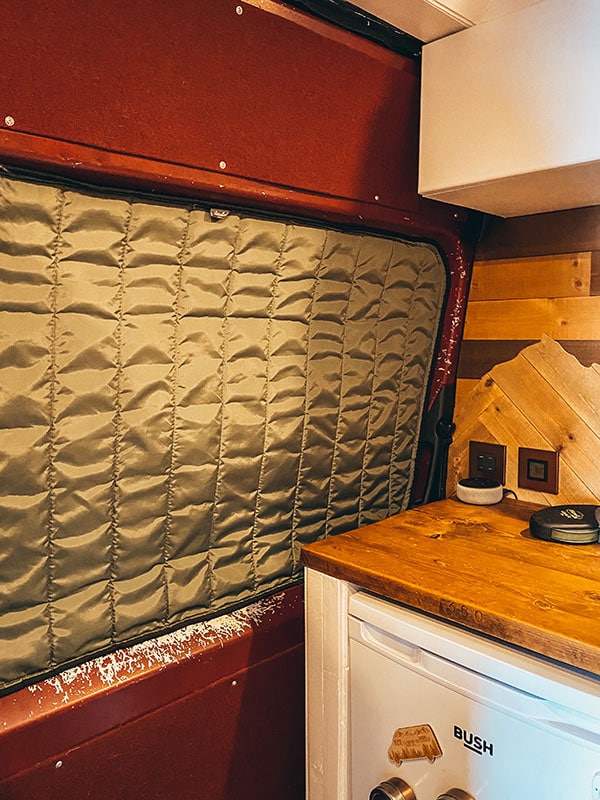
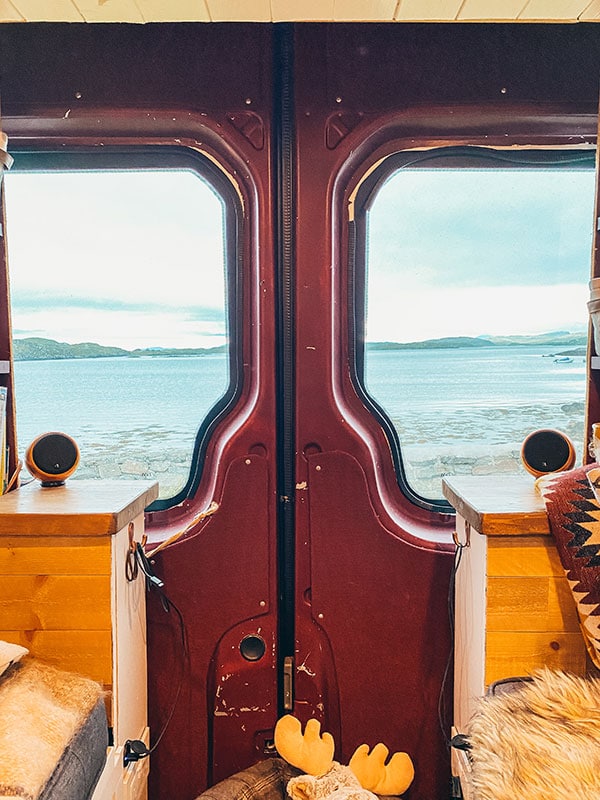
3. Windows – Make sure they’re 100% secure
Our van came with two side windows already installed but we also wanted to add two rear windows for extra light in the back. We watched lots of videos on YouTube on how to do this but in the end we decided to pay someone else to install them as we were a little nervous about it.
This was a huge mistake! Well, I guess I should quantify that a little. The ‘campervan specialists’ we chose to do it weren’t as skilled as we originally thought! The holes were cut fairly neatly but the edges were left exposed without rust protection or trim. They used so much adhesive that we then couldn’t add trim ourselves as the adhesive was leaking around the edges.
The worst part though was that eventually both windows nearly dropped off! Not only could that have been incredibly annoying to have no windows in the middle of nowhere but worse it could have caused an accident if they’d fallen off on the road.
Luckily, when we realised they were loose we took them straight to a windscreen garage. They confirmed they’d been fitted incredibly badly and the adhesive hadn’t bonded to the van correctly. They were re-fitted and have been nice and secure since. Moral of the story? Either trust your own abilities or do a lot more research on people you pay to work on your van!
4. Van carpet – Finish a job before moving on to another!
There’s a few areas of our van we covered in carpet as they were hard to cover with wood. This includes around the side door and around the rear door frames.
Our mistake here was not completing this part of the van build before moving on to something else! We did the carpet early on but there was a few bits we didn’t get finished and instead Will pushed on with cladding the ceiling (he wasn’t a fan of carpeting!). It’s much harder to do a neat job with other bits of wood in the way. We recommend applying van carpet after insulating and then the edges can be easily hidden by your walls or ceiling materials.
5. Weight – Monitor your van weight throughout your build
If your van has to stay under 3.5t it’s vital to think about the weight you’re adding throughout your build. It’s incredible how quickly the weight adds up, and it’s easy to be over once you’re all loaded up and ready for adventures.
Firsts things first, make sure you know the payload for your vehicle. The payload is the amount of weight your van can legally carry, add this to the weight of the vehicle itself (curb weight) and you’ll reach 3.5t.
Our biggest mistake weight-wise was not thinking about the weight we were adding to our van early enough on in our build. We only consciously started monitoring our weight once we got to the stage of constructing our interior space. By this point we’d already added windows, solar, electrics, insulation, ventilation, flooring and walls, all of which added a surprising amount of weight.
At this point we were around 2.8t leaving us 700kg for the interior fixtures and everything we needed to carry. Take off the weight of Will, Piglet and I (around 180kg), 100kg of water and 50kg of diesel (if tank is full), and we’re left with around 370kg to play with.
Clothes, sports equipments, pots/pans, computers and food could then come close to another 100kg. This leaves just 270kg for all the interior of your build (kitchen, bathroom, bed, mattress, cupboards, benches, fridge etc). It’s definitely possible to still come in underweight but weighing your van regularly throughout the build process will help to avoid any nasty shocks at the end!

6. Flooring – Don’t go overboard!
This van build mistake is partly related to the above. Our floor is way too heavy! We laid a sheet of rubber on top of the metal floor, below our insulation, for sound deadening. We then have a wooden frame with insulation in-between and a 12mm plywood floor over the top.
In hindsight we probably didn’t need the large sheet of rubber, especially given the floor we chose. We opted for heavy duty vinyl flooring on top of our plywood base as it’s incredibly hardwearing and we can walk on it in ski boots etc without damaging it. It’s definitely not the lightest though.
By the time weight started being a concern it was far too late to lighten our floor. We really didn’t want to rip out all our hard work thus far and so we carried on. If we were to do another build we’d definitely leave out the layer of rubber and opt for a slightly lighter flooring.
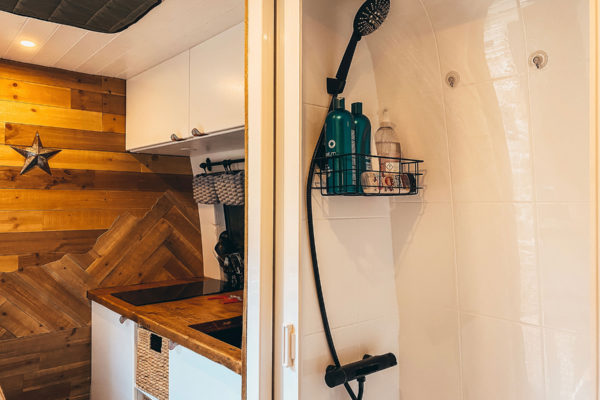
7. Water filler – It’s best on the outside of your van
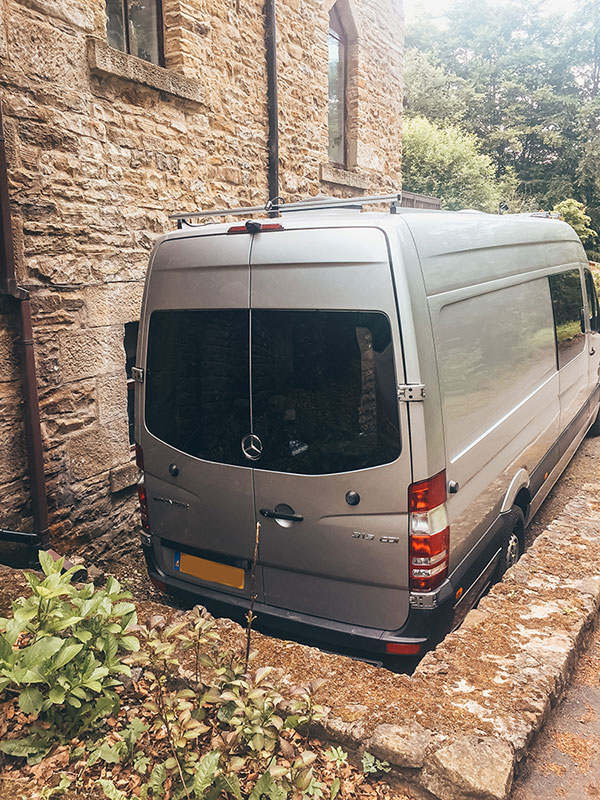
Throughout our build we were keen to keep our van looking as stealth as possible. We were therefore very careful with what we have on the outside of the van and wanted as little as possible on display that would point to us being a campervan.
Instead of mounting our water tank filler on the outside of our van we decided to put it just inside the back door. This meant we could have one less hole on the outside of our van. We got it installed, plumbed in and tested, and were pretty happy with our decision.
That is until we headed off on our first trip and quickly realised what a stupid idea it was! Firstly, we were travelling in winter so every time we filled up we had to leave the back door open and therefore lost all our valuable heat from the back of the van. Secondly, if the water pressure was high water spilled out everywhere, straight in to the back of the van and soaked everything!
As soon as we were back from our first few months away we drilled a hole in the outside of the van and repositioned the filler. There are ways to make an internal water filler work but we decided repositioning it to the outside was the easiest option.
8. Doors – Always use primer when painting!
We decided against putting carpet on the inside of our rear and side doors, and instead decided to paint them. For us, having a different colour on them that coordinates with the interior makes them feel less like van doors and more like feature walls.
The big mistake we made here was not using primer. For some reason it didn’t occur to us to use metal primer as a base coat and instead we painted straight on top of the existing van paint. It was also January when we painted the doors, so the paint didn’t stand a great chance of drying properly in the cold temperatures.
Needless to say the paint has scratched off in quite a few areas, especially where Piglet jumps up to look out the window! We’ve not re-done them as yet but at some point we’ll need to remove the existing paint, properly prime the doors and re-paint them to get a more durable finish.
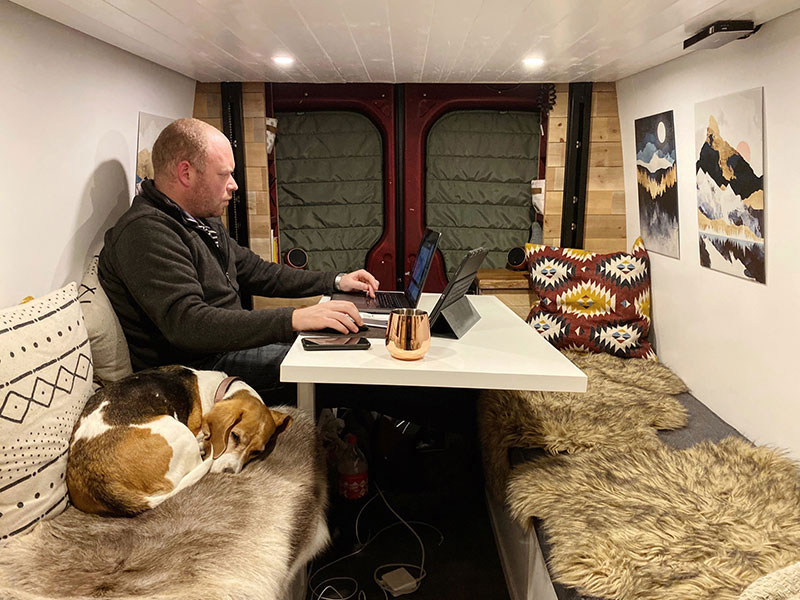
9. Plumbing – Keep it simple
We made quite a few mistakes with the plumbing during our van build which has resulted in a few too many internal leaks! Plumbing is Will’s least favourite job so we left it until fairly late on in our build (yep, we were putting it off!).
Our plumbing system isn’t the simplest, but it’s probably not the most complicated either. Cold water from our fresh water tank (under the bench) supplies our hot water tank, sink and shower. The hot water tank then supplies our shower and sink, and the waste water drains from our sink and shower tray into our grey water tank under our van. As much of the pipework as possible runs internally to help avoid it freezing in the winter.
We used push-fit plumbing connectors and the main issues arose where our pipes were at funny angles. This meant the joints weren’t quite square and therefore not as secure as we first thought. In hindsight it would have been easier to do the plumbing earlier and then built around it. Instead, we were trying to squeeze into small spaces and had limited room for pipework which made connecting everything up a lot harder.
Everything is fixed and working well now but it did involve a day spent in Bauhaus car park in Austria trying to get everything connected properly, secure and winter-proof.

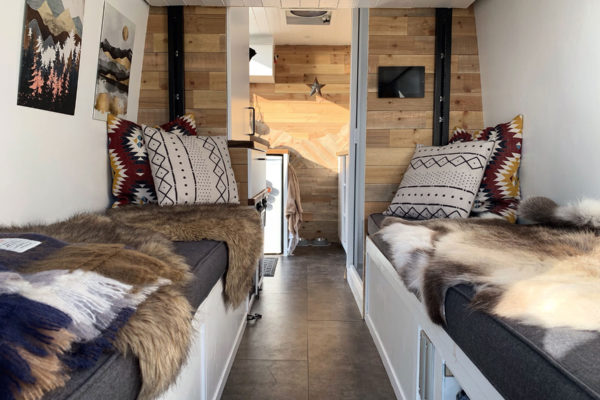
10. Bench Height – Don’t forget about your cushions
What’s that saying? “Measure twice, cut once?!” Well, I’ll be honest, there were times we measured more than twice and still didn’t get it right! I think, for example, we adjusted the height of our benches three times! Luckily the first time was before we fixed them in place, the second took a little more effort!
We used the height of an existing bench in our home as a guide, however, we didn’t have a cushion on that bench. Once our cushions were finished we put them on the bench, happily sat back to admire our work and immediately realised our mistake!
We subsequently ended up dropping our bench height by around 2”. This wasn’t too difficult in itself but it did have implications for things we’d built around the benches and meant re-doing a few other bits as well.
We recommend finalising the thickness of your cushion foam before deciding on the height of your seating. You can then hopefully avoid our error!
Looking for more information on our van build?
We have a complete overview of everything we’ve used in our van on our van build page. We also have a separate van life tech page that covers all the technology we use, including our van’s smart home system.
For more in-depth information on specific parts of our build head to our van conversion guides that cover each aspect of our van.
On the whole, we loved building our van. It was a lot of fun and we’re really pleased with the little home we’ve created. It was definitely a lot of work though and at times felt like it was taking forever! Whilst we clearly made some mistakes during our van build, it’s all part of the fun! It’s also been a great learning process for if we ever tackle another build.
We hope you’ve found this post useful, and with any luck you can now learn from our mistakes to make your van conversion a little easier than ours! Let us know in the comments what your worst van build mistake was, or perhaps your build went perfectly?
If you’ve appreciated this article and want to say thanks you can buy us a coffee (or dog treats for Piglet!). Alternatively, we’d love to share our van life stickers and magnets with you. If you’re currently converting your dream van we hope it’s going well, we can’t wait to see the results!
This page contains affiliate links. We make a small commission on purchases made through these links at no extra cost to yourselves.
Like this post? Pin it!


Every, ev-er-y single issue you addressed has proven to be invaluable advice and guidance to us as we strive to complete our first build. We moved to CA from the UK and are ready to explore this great and vast nation. You’ve saved us time, money and quarrels. We hope to be ready to hit the road on Jan 1st, but not before we have safely metabolised the glass of fine wine we shall raise in your honour. Wonderful article by wonderful people. Thank you.
Enjoy the wine! Glad the article was helpful and hope your build is going well. Happy travels!
Where did you got your lift bed from? I’m searching since month for something like this.
It’s a Happijac bed lift, you’ll be able to find them on google or there is more information here https://www.tothemountainsandback.com/happijac-bed-lift-fast-facts/
Thank you so much for this very informative article! I just have one concern about having outside the water filler. I’m just worried that it can be accessed by anyone or is there a way to put some lock on it? Thank you.
Some fillers have a lock on them, ours uses a special key shape to open, which you could technically get open if you really tried but we’ve never seen any evidence that anyone has tried.
Thanks for all the tips. Weight is always severe issue for me (plus im recently mostly paraplegic from not at fault accident) so more weight is added for side ramp and hydraulics (ug). Im starting on my second van build. This one is a horrendous project. Total removal and replacement engine, all drive line, and suspension on wrecked 2018 170 Sprinter hitop (not ext.rear). Replacing with 6.4 Hemi 8lug straight axle 4×4 exo/fab frame wrap to covert 3500 Ram parts to Sprinter to be unthinkable strong. Suspension/Frame will be good way (way) past 10,000 pounds.
Then can build as i want and also tow my gear trailer and Jeep (all still in the Sprinter concept i love so much). Alot of my interior will be vacuum mold carbon fiber (only because of light weight/extreme strength. I have worked with fiber based materials most of my life so can make mostly anything with enough time. Hopefully by Spring 2024 I will be about done. Videoing mostly everything and i might make a blog once its finished (but more I’m interested in going on super long adventure as soon as its done… My other van is already gone so nothing to fall back on now. So far the new one is going great. Also… most everything is built from damaged late model vehicles 2018 Sprinter is a wrecked Fedx with good title so no paperwork issues on that, and the rest is off non repair salvage vehicles with proper documentation. I’m reselling everything removed or not used in the build so yes (its lots of trouble) BUT the cost is so far nearly re-paying itself in resale of re sold parts alone).IF things keep selling Im basically back at ZERO INVESTMENT (not counting countless hours of course). Otherwise using all new van and parts would already be way over 100,000$ with totally empty shell. Debt or huge waste is the total opposite of my goal. Going where i want in total confidence is my goal.