

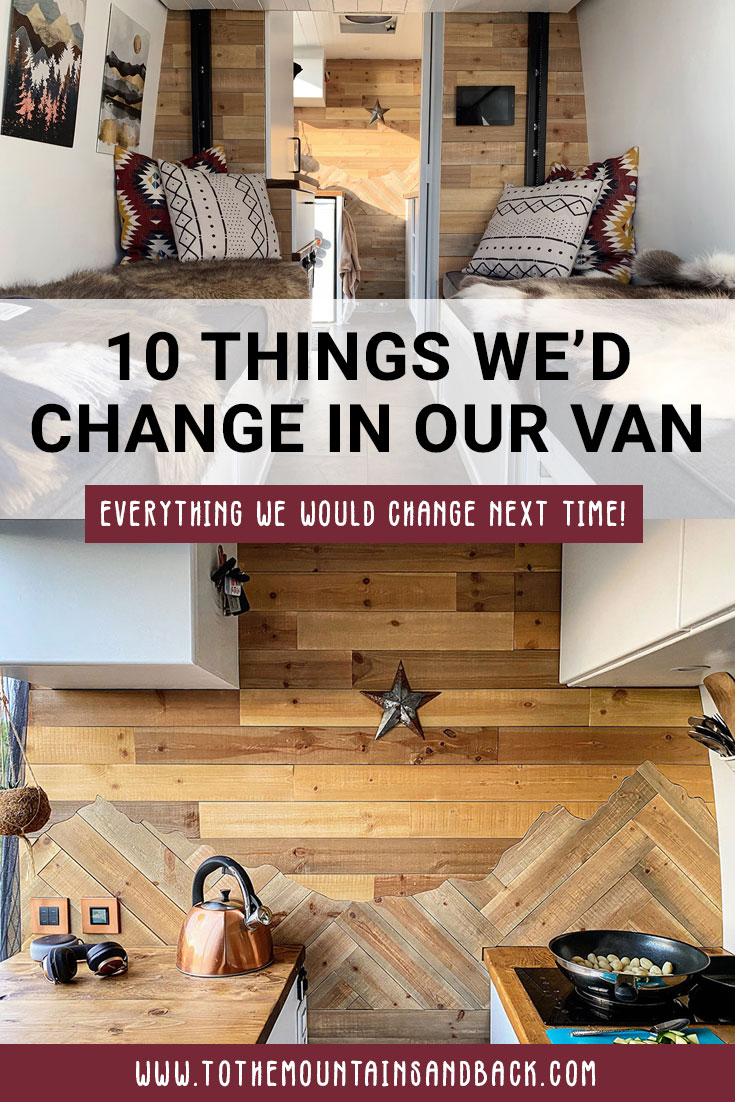
10 Things We Would Change About Our Van Build
We’ve been living and travelling in our van for over two years now and we’re always being asked if there’s anything we would change about our van. We’re really happy with how our van turned out and whilst we’ve made a few minor changes along the way she’s still pretty perfect to us! That being said, if we ever do another van build there are 10 van build changes we would definitely make. There’s also a few things we wouldn’t change at all!
We don’t live full time in our van, we’re usually away for 8-12 weeks at a time, back to the UK for a month or so to work and then hit the road again. We travel to hot places, freezing cold places and everywhere inbetween! We’ve done over 41,000 miles in her, despite being grounded for most of 2021 due to covid, so we’ve really put her through her paces!
We’re really happy with our current layout, and love our Happijac bed lift but if we were to do van build 2.0 we have a completely new layout in mind. We’re keeping that a secret for now but there are ten things we know we’d definitely change, and we hope they’ll help you whilst planning your van build to ensure you get it perfect first time.
What would we keep in a new van build?
Before we share the changes we’d make I want to share with you the things we would definitely keep from our current van build. I think the things we love can be just as important as the things we’d change.
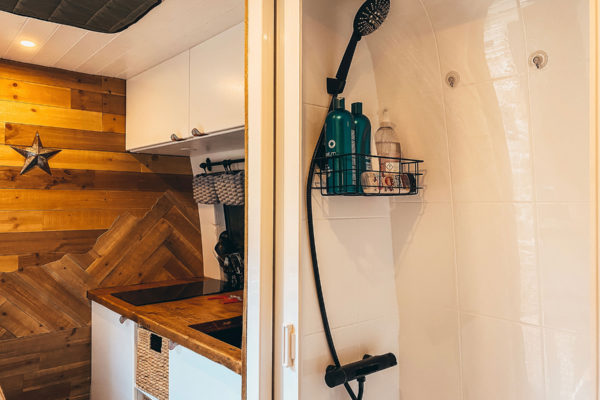
Our bathroom
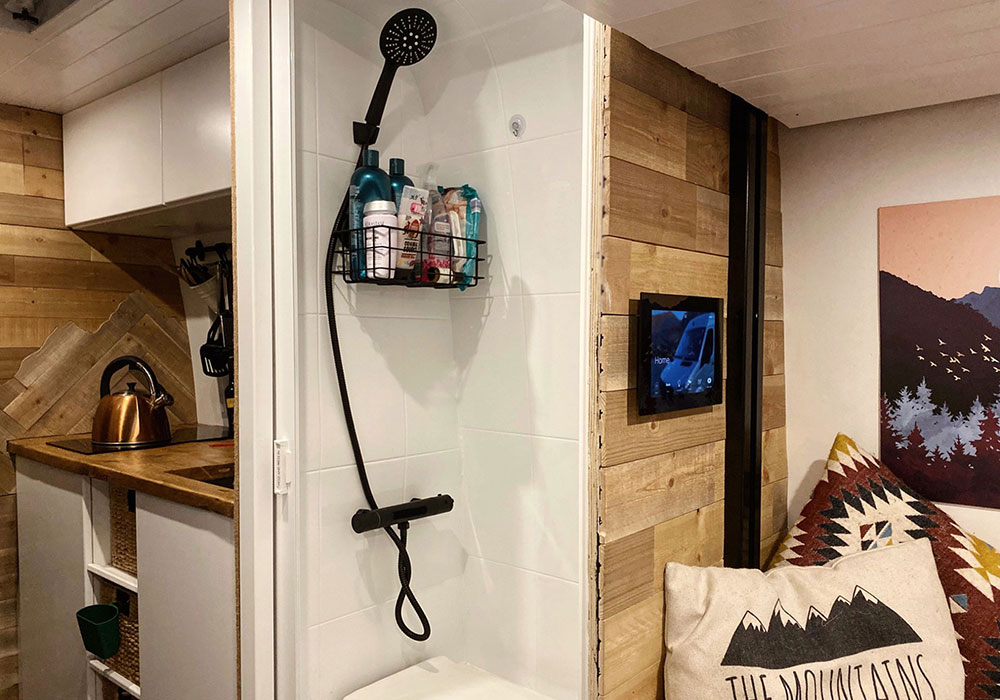
Firstly, we’d definitely have a bathroom. Putting a bathroom in your van conversion is a hotly debated topic in the van life world! Some argue they’re a huge waste of space whilst others wouldn’t travel without one. We fall into the latter category.
We’re so thankful for our bathroom, I honestly don’t know how people travel long term without one, you’re a lot braver than me! Especially during covid times when public bathrooms and showers are hard to come by our bathroom has been essential. We love that it eliminates the hassle factor and after a long days skiing you can jump in a nice hot shower to relax for a few minutes!
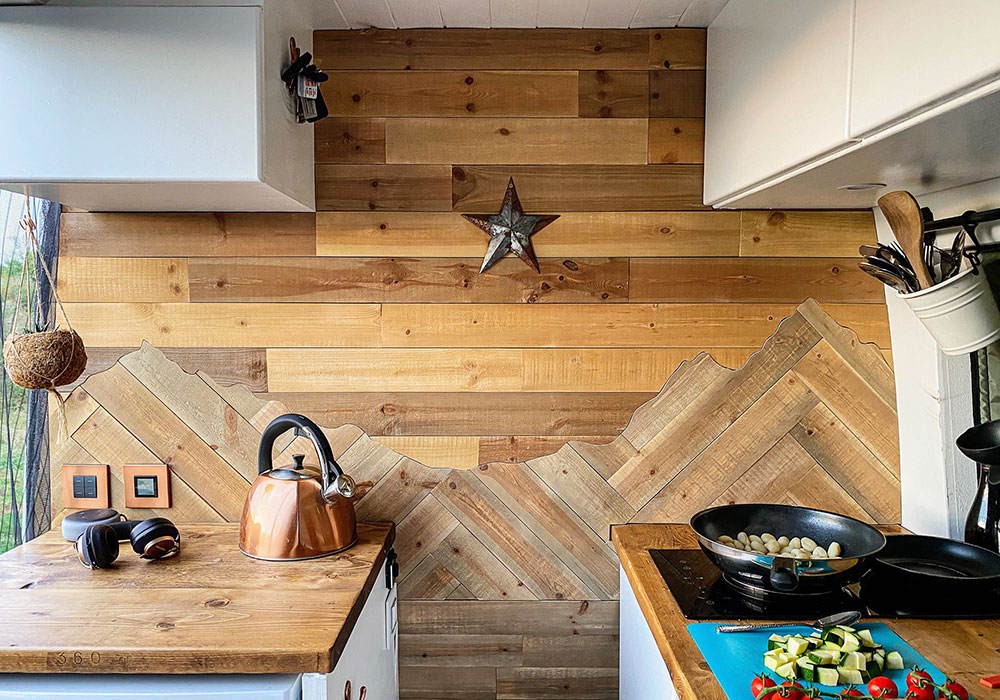
Our induction hob
Another source of great discussion is our induction hob, and this is another item we would definitely put in our second van. Cooking on induction undoubtedly uses a significant amount of power but not an unmanageable amount. We’re happy to have no gas in our van and for us the positives of induction far outweigh the negatives.
Want to know more about cooking on induction? Read our complete guide to the pros and cons of cooking on induction in a van.
Hot Water
Our hot water is generated using the heat from our engine. We have a 16lt water tank with an internal coil that our engine coolant line runs through to give us hot water for our kitchen sink and shower. It works really well and within 15 minutes of driving we have a full tank of hot water without using electricity, additional diesel or gas. We’d absolutely install this system again.
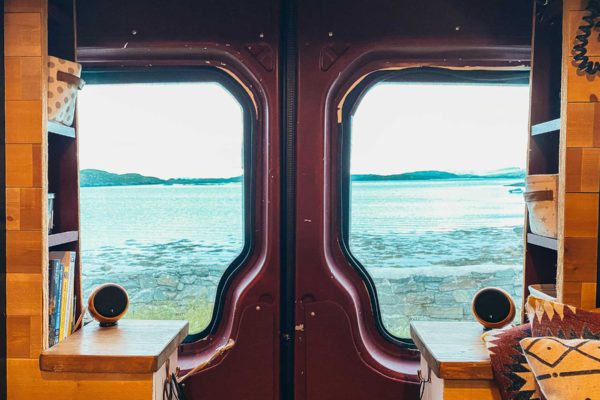
Seating
The final feature we’d definitely want if we were to build out another van would be a large seating area. We currently have a lot of space to sit, relax, work, eat and watch Netflix, and especially on poor weather days we really appreciate it. Our Happijac bed lift allows us to have this huge seating area and without it we’d have to make some major compromises on seating space.
What van build changes would we make?
Now, onto the changes we would make if we did a second van build. Some of these are pretty minor, others are more major changes. What I would say is, the most important thing is to think about how you’ll be using you van. If you’ll only be away for a few days at a time laundry storage won’t be a big issue, likewise if you’re lucky enough to live somewhere it’s almost always sunny you can get away with smaller battery storage.
Thinking about where you’ll be travelling, how long for and what demands there are on your space are crucial decisions when planning your van layout. I can’t promise you’ll get it right first time but hopefully the following will help during that all important decision-making stage!

1. Insulation
We used a mixture of PIR insulation boards and recycled plastic insulation in our build. It took forever! Honestly, it feels like we spent months insulating our van. Rigid insulation boards are really effective and have a high R-value (a measure of how resistant to heat flow a material is). The issue, however, is they’re only useful on larger areas such as the floor, ceiling and larger wall panels. They’re unfortunately no good for all the frame ribs and nooks and crannies in a van!
If we did a second van build we’d budget for closed cell spray foam insulation, and get a professional to do it. The R-value of polyurethane spray foam is almost as good as PIR boards and it will cover everything evenly. The cost is a little more but the time savings are significant.
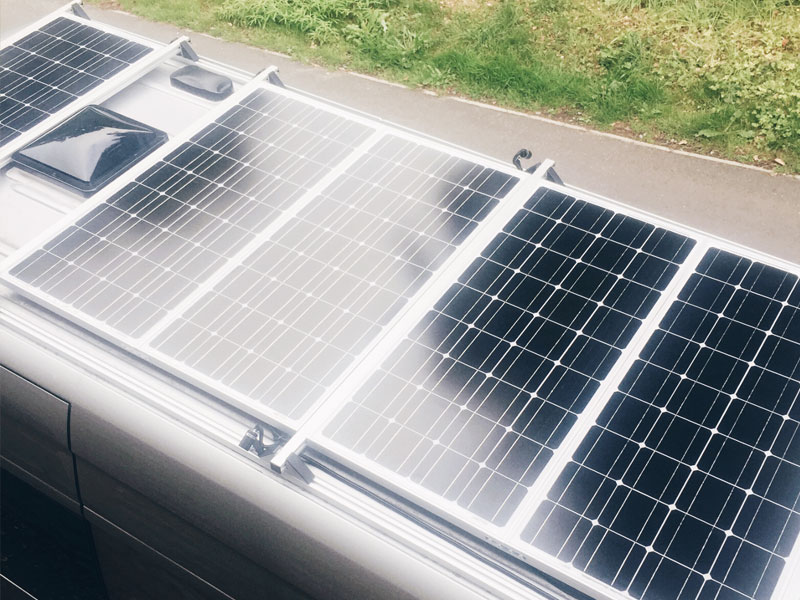
2. Install Maxxair Deluxe Fans
Installing proper ventilation in your van is vital to stop moisture build up. We installed two Fantastic Fans during our van build to enable good air flow and extract moist air whilst cooking and showering. They worked great but had one major floor: you can’t use them when it’s raining.
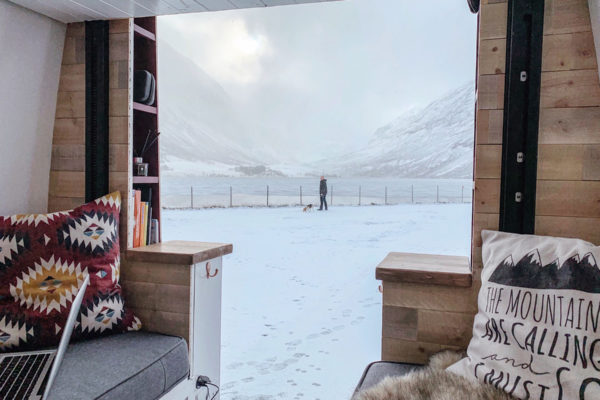
We get a lot of rain! We also travel in winter and head to the ski slopes so regularly have days we’re stuck inside due to snow storms. It’s essential to still be able to vent moisture out of your van on wet and snowy days. This is where the Maxxair Deluxe Fan comes in to its own.
The Maxxair Deluxe range features a rain cover. This means you can open your roof fan without getting wet and continue to extract moisture from your van no matter how wet and miserable it is outside. We changed our front fan for a Maxxair fan last year and would definitely use these in our next van build. The build quality is also significantly better than our original choice.
3. Change our wiring spec
We’re pretty sure we went overboard on our wiring. We used outdoor spec cabling which is waterproof but also heavy. I think we’d be horrified how much weight is in our wiring if we actually pulled it all out and weighed it!
All of our wiring is in conduit anyway to keep it away from the shell of the van so especially for the low voltage wires we’d opt for standard (lighter) wiring.
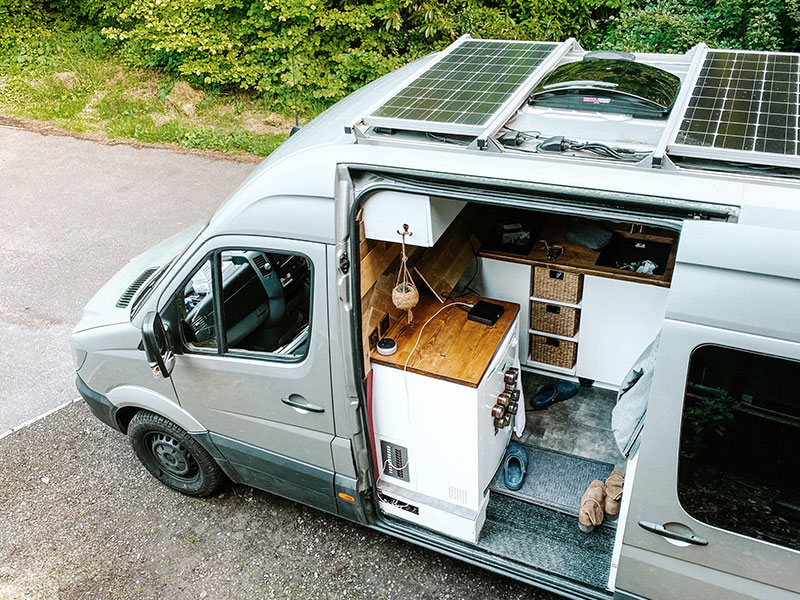
4. Increase battery storage
We use quite a lot of power in our van. Not only do we cook on induction but we’re constantly charging laptops to enable us to work on the road. We currently have a 300ah lithium battery but if budget and space allowed we would increase this. It would be nice to be able to stay off grid for longer periods of time, especially in winter without needing to drive and recharge.

5. Add a door to our bulkhead (possibly!)
We have a fixed bulkhead in our van that doesn’t allow access between our cab and living space. We love this arrangement for the privacy and climate control it offers. We’ve (thankfully) never needed to leave a place in a hurry so the lack of access hasn’t been an issue.
That being said, having a hidden pocket door within the bulkhead would be great on days when it’s raining and you don’t want to have to go outside and drag wet shoes into the back of the van! It would also allow the cool air from our air conditioning (only in our cab) to circulate to our living space on hot days.
There is one major reason why we didn’t install a door in our first build: Piglet. We have two passenger seats in our cab and our dog Piglet sits in the middle seat when we’re driving. Unless we remove this middle seat there’s no space between it and the drivers seat to allow us to walk through to the back of the van. If we didn’t have a dog we’d remove the third seat and put in a pocket door. Hopefully Pigs will be with us for many more years though, and she’s worth the minor inconvenience of having no door!
6. Larger bathroom
Not only would we definitely have a bathroom in our van but we’d also make it bigger! Our current bathroom is as small as we could make it whilst still ensuring it was usable. It’s so small it’s literally the width of Will’s shoulders when standing due to the curve of the van!
Assuming we could make it work layout-wise we’d increase the footprint of our bathroom and ideally move it to the corner behind our drivers seat, possibly something similar to this beautiful build by @eyesopen_vanlife_workshop.
View this post on Instagram
7. Storage
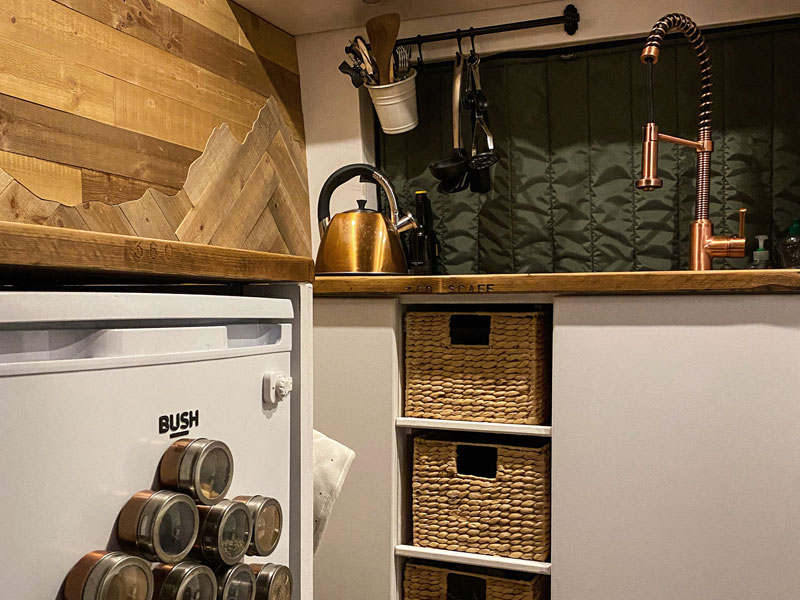
There are two things that are a source of daily frustration in our van! If I could offer one take-home piece of advice from this van build changes article this would be it: think about your shoes and laundry!
I thought we had this covered as we use the space under our passenger seats to store shoes, but then there’s always a pair (or two!) for each of us lurking in the back as well. Inevitably these get left on the door mat in front of our fridge, and then you can’t open the fridge. The struggle is real!! Some kind of basket or shoe storage box that keeps your shoes off your precious floor space is now an essential van build component in my opinion!
Likewise, where will you put your dirty laundry? Not the most glamorous thing to think about for your lovely new van but it’s important to remember! We currently store ours under one of our benches. I think in a new build I’d have some kind of dedicated, easy-to-get-to compartment.
8. Kitchen layout
Keeping with the storage theme we’d also make changes to our kitchen cupboards. Having lived in our van I now understand that cupboards are pretty useless in campers. I mean not completely useless but things seem to always fall out when you first open them after driving. Drawers are a far better option for food and pan storage. They also make it easier to use the full height of the space you have available.

9. Angled back for seating
We have two lovely long benches underneath our bed in the back of our van. We initially planned on putting foam behind our backs as well as for sitting on. Due to the curvature of the van walls this really didn’t work. Instead, it meant we were still being pushed forwards but also had less seat width to comfortably sit on.
If we built out a second van we’d ensure we constructed our seats to have a slight angle on the back to make them more comfortable for long hours at the computer. They would also need to be a little wider than our current ones so it doesn’t feel like you’re perching on the edge of the seat.

10. Fixed table
We currently have a Lagun table mount in our van. They’re really clever in that they offer swivelling in all directions so you can easily move them out of the way or adjust where you’re sitting. The disadvantage we’ve found is our table top always sits at an angle. It’s within the recommended size limits and really lightweight so if anyone has any tips to avoid this please drop them in the comments below!
Sadly, we wouldn’t install another Lagun table mount, despite loving their versatility. The angle of the table top makes it hard to work on and there’s been a fair few times we’ve had to rescue cups of tea about to slide off! Piglet is always happy when food rolls towards her though! I’m not sure what solution we’d go for, more research is needed on that front.
Looking for more information on our van build?
You can find a complete overview of how we built our van and everything that went in to it on our van build page.
We also have lots of more detailed posts covering different aspects of our build. You can find these in our van conversion section.
I hope you’ve found our above thoughts on van build changes we’d make useful. There are so many things to think about when doing a van conversion that it’s easy to overlook some of the smaller details. It’s often not until you’re living in your van that you realise what is missing or what would have been better done in a different way. It’s definitely a fun learning curve though!
If you’ve enjoyed this post and would like to support our content, we’d love a virtual coffee/tea! Alternatively the next time you purchase from Amazon (UK) or Amazon (US) if you use our links we’ll receive a small commission (it won’t cost you any extra) to help keep our content coming.
This page contains affiliate links. We make a small commission on purchases made through these links at no extra cost to yourselves.
Like this post? Pin it!


Thanks for sharing these, I’ve had a campervan before but it came with the interior already built in, so I never really considered any changes I’d make! I’m just starting out on my own conversion and again it’s built in already but needs stripping out and rebuilding. I hadn’t even considered having space for dirty laundry, thats now on my list and I didn’t know where to start with solar/battery, so thank you!
You’ve probably already thought about it, but how about a folding middle seat for your lovely little pigs? You could fold it out of the way when it’s raining to get into the back. I couldn’t live without that doorway into the back, it’s an absolute must have for me – nothing worse than it raining outside and realising you’ve left something in the front!
Hi Helen, apologies for the delay in replying to you, for some reason I wasn’t notified of your comment! Hope your conversion is going well, 100% consider what you’ll do with laundry, little thing like this make such a bit difference!
We did think about a fold away seat, and this was our back up plan if we decided after living in the van we needed to door. It’s also why we left a gap in the kitchen. So far there’s only been a few occasions where we wished we had it, and all of those were when it was pouring with rain!!