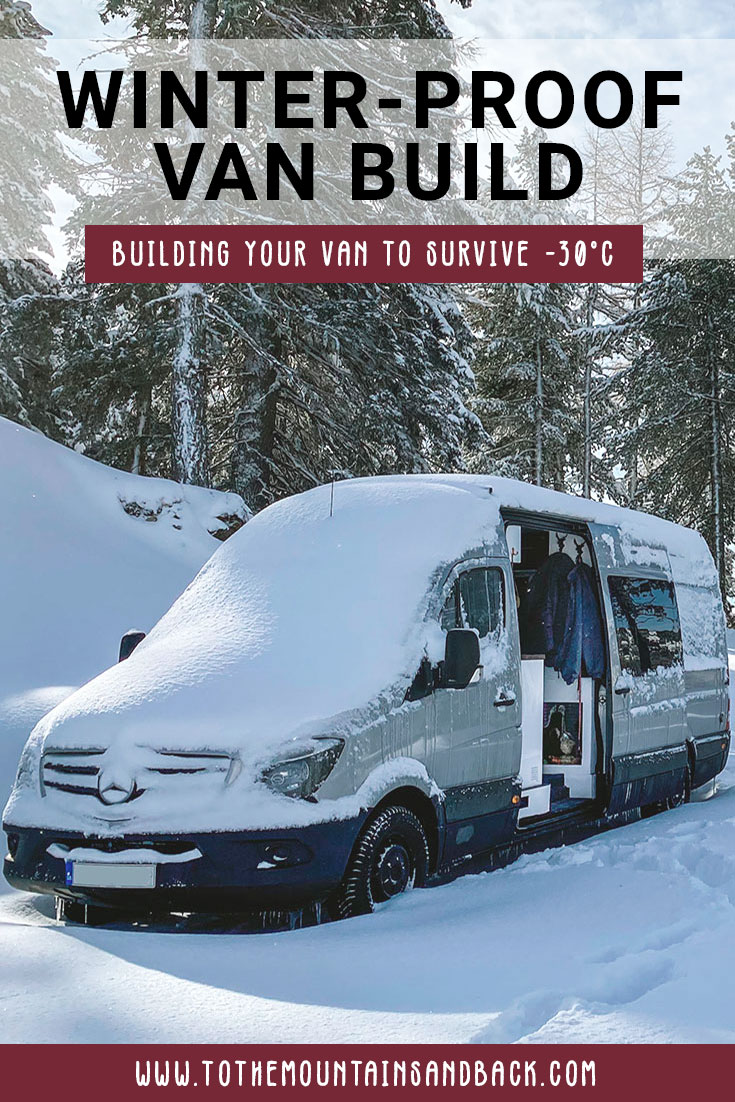
Building Your Van to Survive the Winter (-30°c!)
Winter ready van build
Whilst some vanlifers follow the sun and warm weather, when winter hits we actively seek out the snow. We love winter and were clear from the beginning we’d be living in our van in some pretty extreme temperatures. To make sure this was possible without freezing (we love snow, hate being cold!) we designed our van with winter in mind. So, whether you’re in the early stages of your van build or just after a few modifications to see you through the winter here’s some of our build top tips for surviving the freeze!
Van Insulation
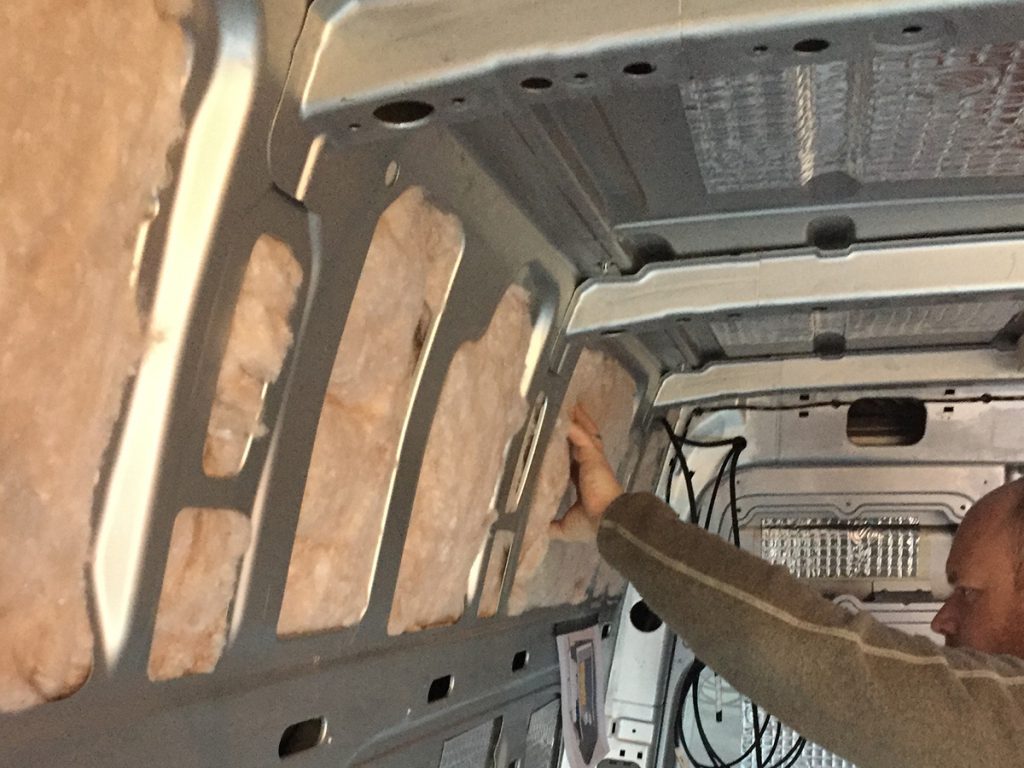
It’s an obvious one but insulate as much as possible, everywhere you possibly can! Some van build guides we’ve read say there’s no need to insulate the floor but we don’t agree with this, the more you can limit that cold air all around the van the better. There’s nothing worse than cold feet!
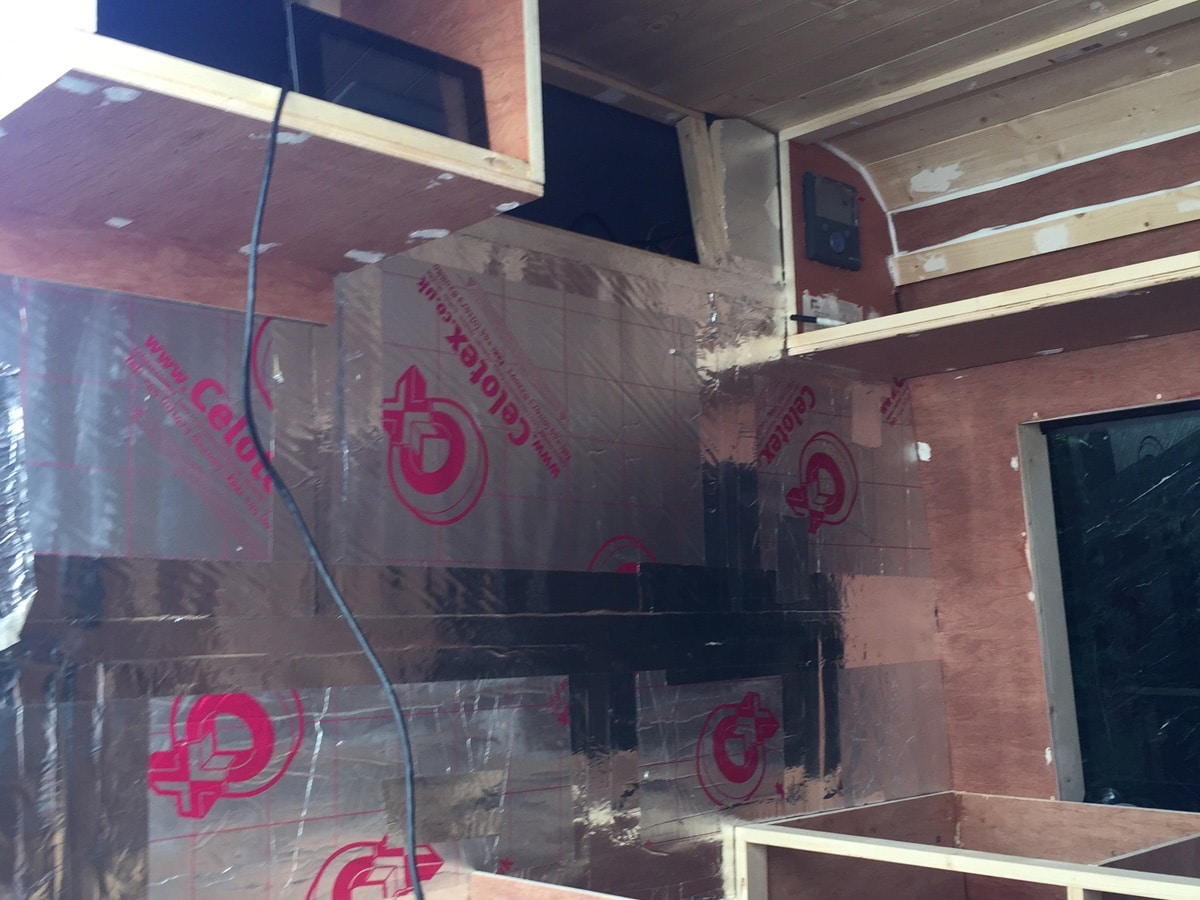
We’ll go in to more details about our insulation elsewhere but we used a mixture of insulation boards and rolls of recycled plastic insulation. It felt like this stage of the build took forever but it’s one you really shouldn’t compromise on in a winter van build.
Camper Van Windows
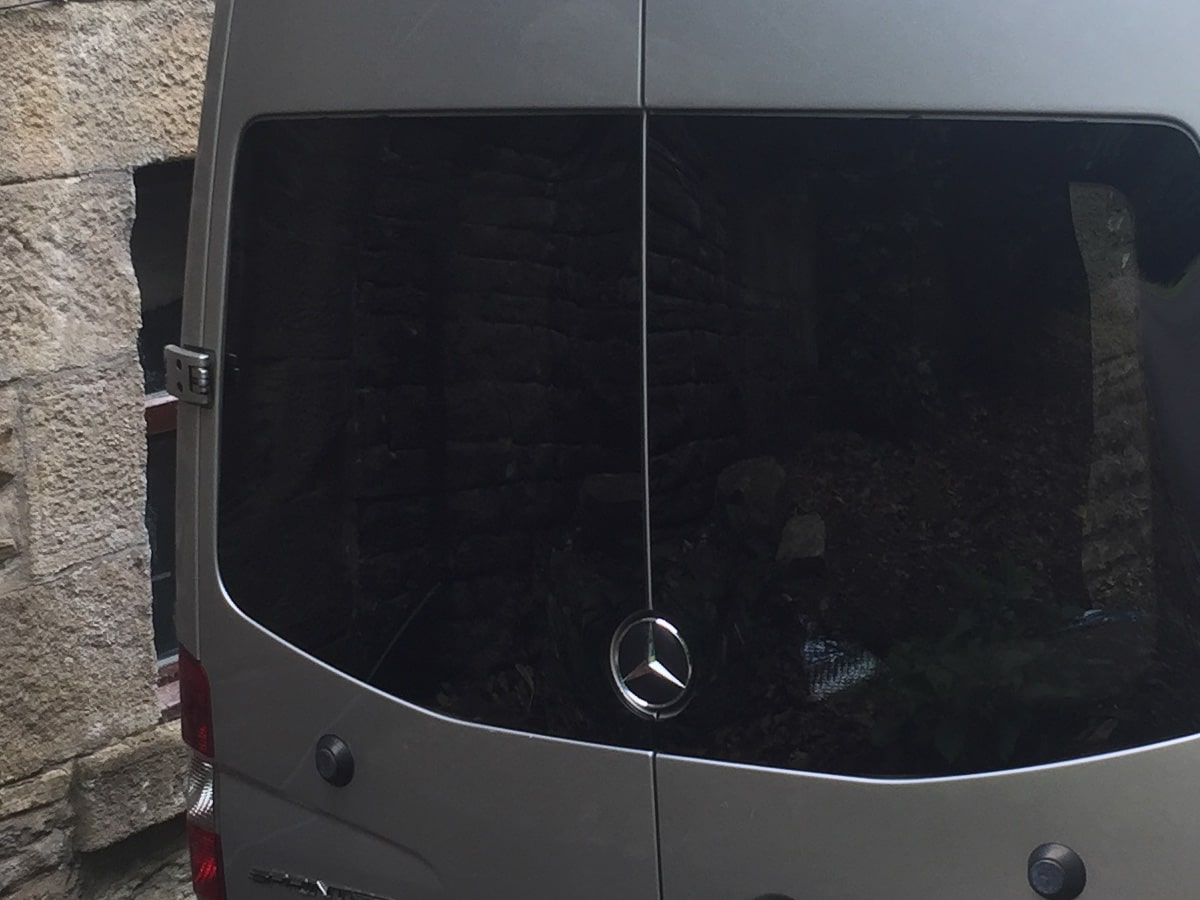
Windows are responsible for a huge amount of heat loss. Some people choose to omit windows all together in order to keep as much heat in as possible. Alternatively, many camper van window options are double glazed for improved insulation.
We decided against fitting camper van specific windows as we think it’s more obvious from the outside your van is a camper and therefore less stealth. We did want the extra light though so opted for standard Mercedes Sprinter windows with some well insulated window covers. It’s a balancing act with winter van builds but a conversation it’s definitely worth sitting down and having.
Van Heating
No matter how good your insulation is, if you’re heading to the snow it’ll be a lot more comfortable if you have heating installed. We opted for a Webasto diesel heater and have been really impressed. It was -29.5°c one night in the Arctic and we were a toasty +20°c inside our van!
We have two top tips on the heating front:
1. Check where your thermostat is. Ours was located on the heater unit positioned under our drivers seat. Our cab is unheated so it was impossible to set the temperature accurately in the back… a few nights waking up with hot sweats later we fitted an external thermostat in the back which works like a charm.
2. Most diesel heaters won’t turn on if your fuel is low. This is a great feature to stop you getting stuck. It’s not so good when you’ve been driving on tiny roads for what feels like forever, park up in the snow, realise you only have a quarter tank of diesel left and you’re in for a cold night! Lesson learned, keep your diesel topped up!

Van Ventilation
Ventilation is incredibly important when living in a van in winter. Moisture builds up quickly and can cause a lot of problems. We installed two Fantastic Fans in our build, and whilst they’re great for air flow and pulling moisture out they do have their downsides. The first is they’re not brilliant in rain or snow as you’re going to get wet if they’re open! In winter this can mean days at a time when you can’t use your fans effectively. The second is they let a lot of cold air in. It’s a balancing act between keeping moisture at bay and not losing all the warm air your heater is making.
If we were doing our van build again we’d opt for Maxxair Deluxe fans, and we might even swap ours out at some point. These seem a lot better suited to a winter van build as they can still extract air when the cover is down meaning your warm air stays in and the rain/snow stays out.

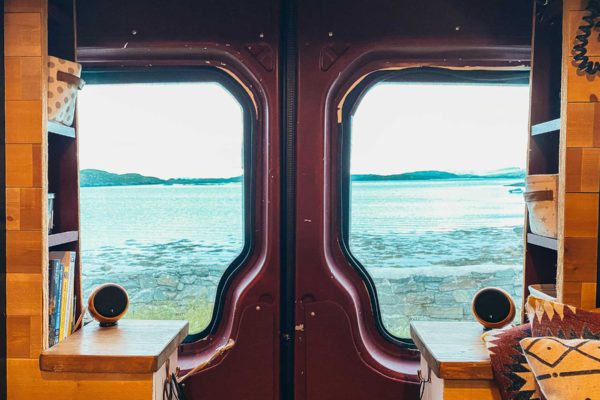
Bulkhead In or Out?
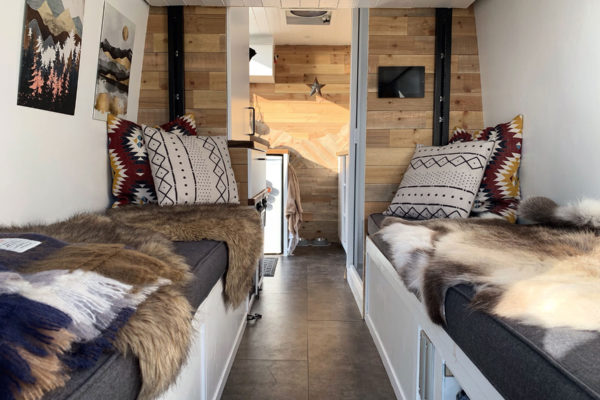
Do you need a bulkhead? Many people remove theirs in favour of additional light and space, and install swivel seats for their seating area. We took ours out and replaced it with a insulated divider that seals off our cab and living area. This gives us complete temperature control in the back and improves privacy. You may want to think about including a door or window in your bulkhead as the only annoying part is when it’s chucking it down with rain and you have to go outside to get in the back!
Water Tank Positioning
It’s a good idea to position all or part of your fresh water supply inside your insulated van; we have our tank under one of our benches. External tanks will freeze. We have our grey tank outside and so long as you empty it regularly you should be ok. Definitely don’t leave it full when you drive into the Arctic like we cleverly did as that is one big ice cube when it freezes that ain’t gonna melt any time soon!!
The other issue is ensuring you can carry enough water. We found it harder to get water in the winter as many taps were turned off or frozen and most camping facilities are shut. We have a 100 litre fresh water tank and whenever we see a tap we fill up, especially in Winter.

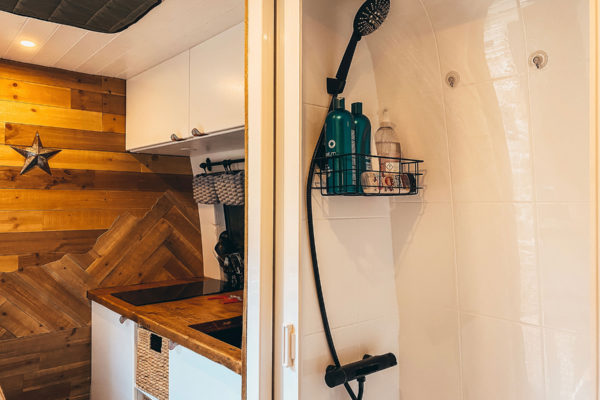
Van Plumbing
The majority of our plumbing is inside to stop it freezing. Our sink and shower drain outside the van into our grey water tank mounted beneath the van. Water will freeze quickly in these pipes so make sure they’re wrapped in insulation and ideally run a heat trace around them. This is essentially an electric metal wire that heats up when the temperature is below a certain level (5°c in our case), warming the pipes and melting any ice build up. We turn ours on in the morning for a few minutes to melt anything that’s frozen overnight. So far it’s working really well.
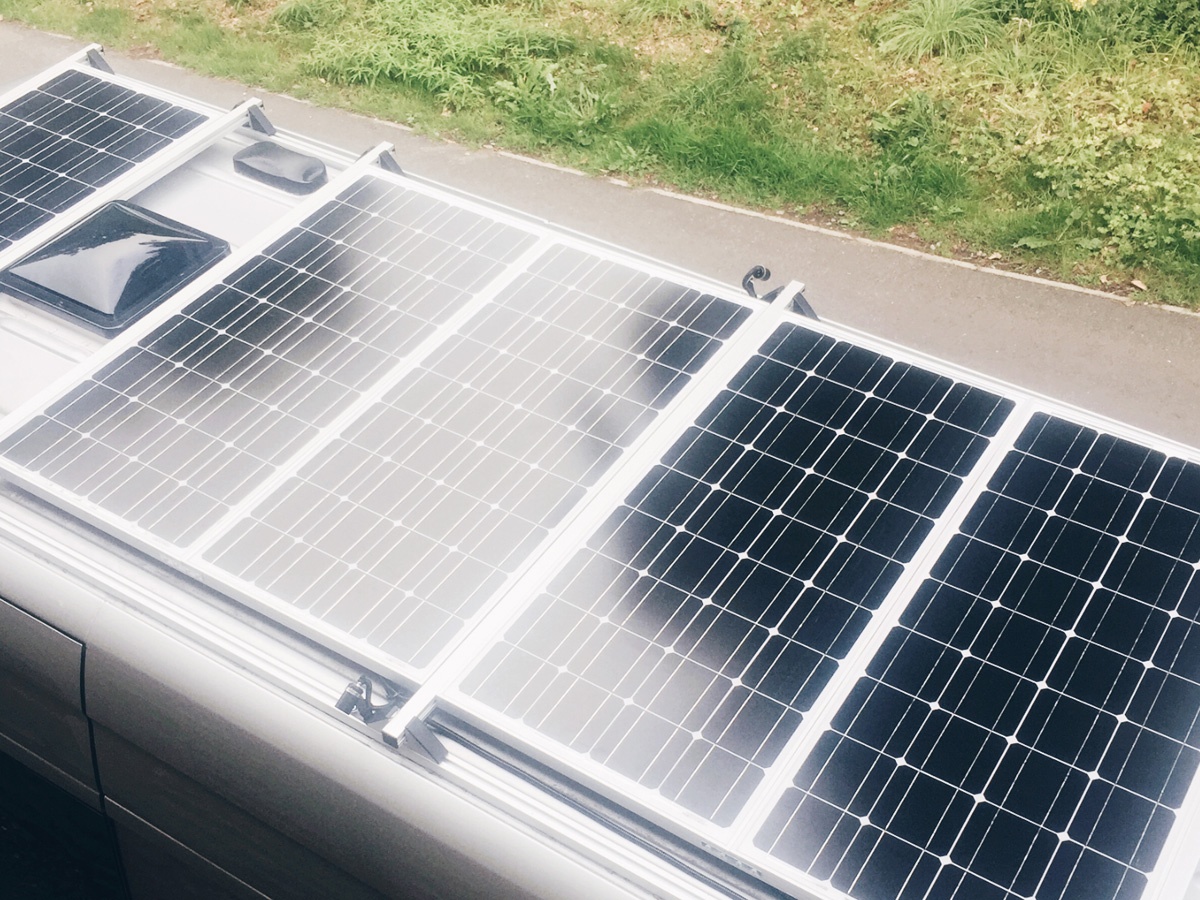
Winter Solar Power
Solar power is not always easy to find in winter. Not only will you need to regularly clean snow from your panels (trust me that’s tricky without a ladder, we learnt the hard way, at least get a collapsible one!) but if you’re in thick snow for days there’ll be very little power getting generated anyway. The ability to charge as you drive using a Buck Boost is a huge help in winter. We definitely wouldn’t manage off grid without this on cloudy or snowy days.
Weight Distribution
Most vans (unless you’re lucky enough to have 4WD) are rear wheel drive. The more weight you can put over the rear wheels the better your van will drive in snow and ice. We built our internal design around this, locating our battery, inverter and other electrics over one rear wheel arch and our water tank over the other. The space behind the rear wheel arches is used for storage. Couple that with some good snow tyres and even 2WD vans will take you to the Arctic and back without an issue!
That’s our top winter van build tips for undertaking a van conversion that will easily get you through the coldest months. Would you add anything else to the list? Drop us a comment below or contact us with any questions. If you’ve found this post useful and would like to support our content you can buy us a virtual coffee (or tea or dog treats!) or make your next purchase from Amazon (UK) or Amazon (US) using our links. Your purchase won’t cost you any more but we’ll earn a small commission.
This page contains affiliate links. We make a small commission on purchases made through these links at no extra cost to yourselves.
Like this post? Pin it!