

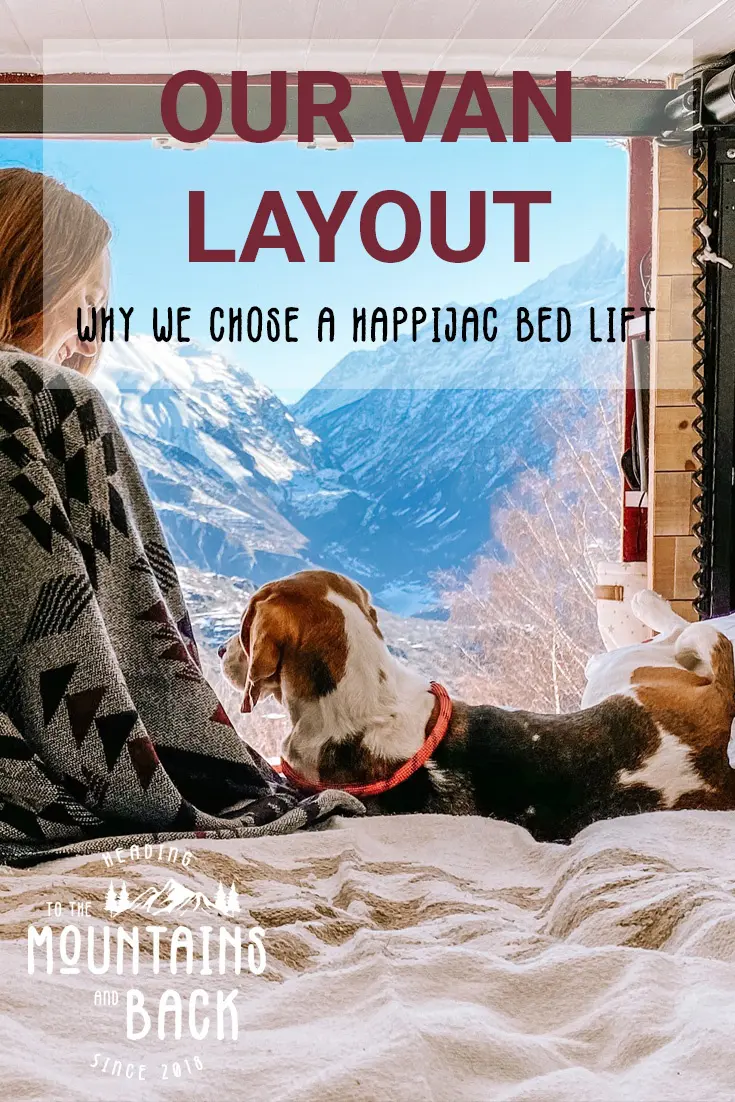
Our Van Layout – Why we Chose a Happijac Bed Lift
Looking for information on our Happijac Bed Lift?
Read our Happijac Bed Lift Review or check out our Happijac FAQs for lots of information including dimensions, price and shipping information.
Van conversions are pretty amazing really. Everyone is working with a similar sized, very small space and yet there’s so many different layouts out there. Every time I think I’ve seen it all a picture pops up on Instagram and I’m in total shock they managed to fit that into a van! Check out this design by Van Steading for example, it’s so unique and so beautiful. I have to admit, as much as I love our Happijac bed lift I’m a little jealous of this layout!
View this post on Instagram
Deciding on your van layout
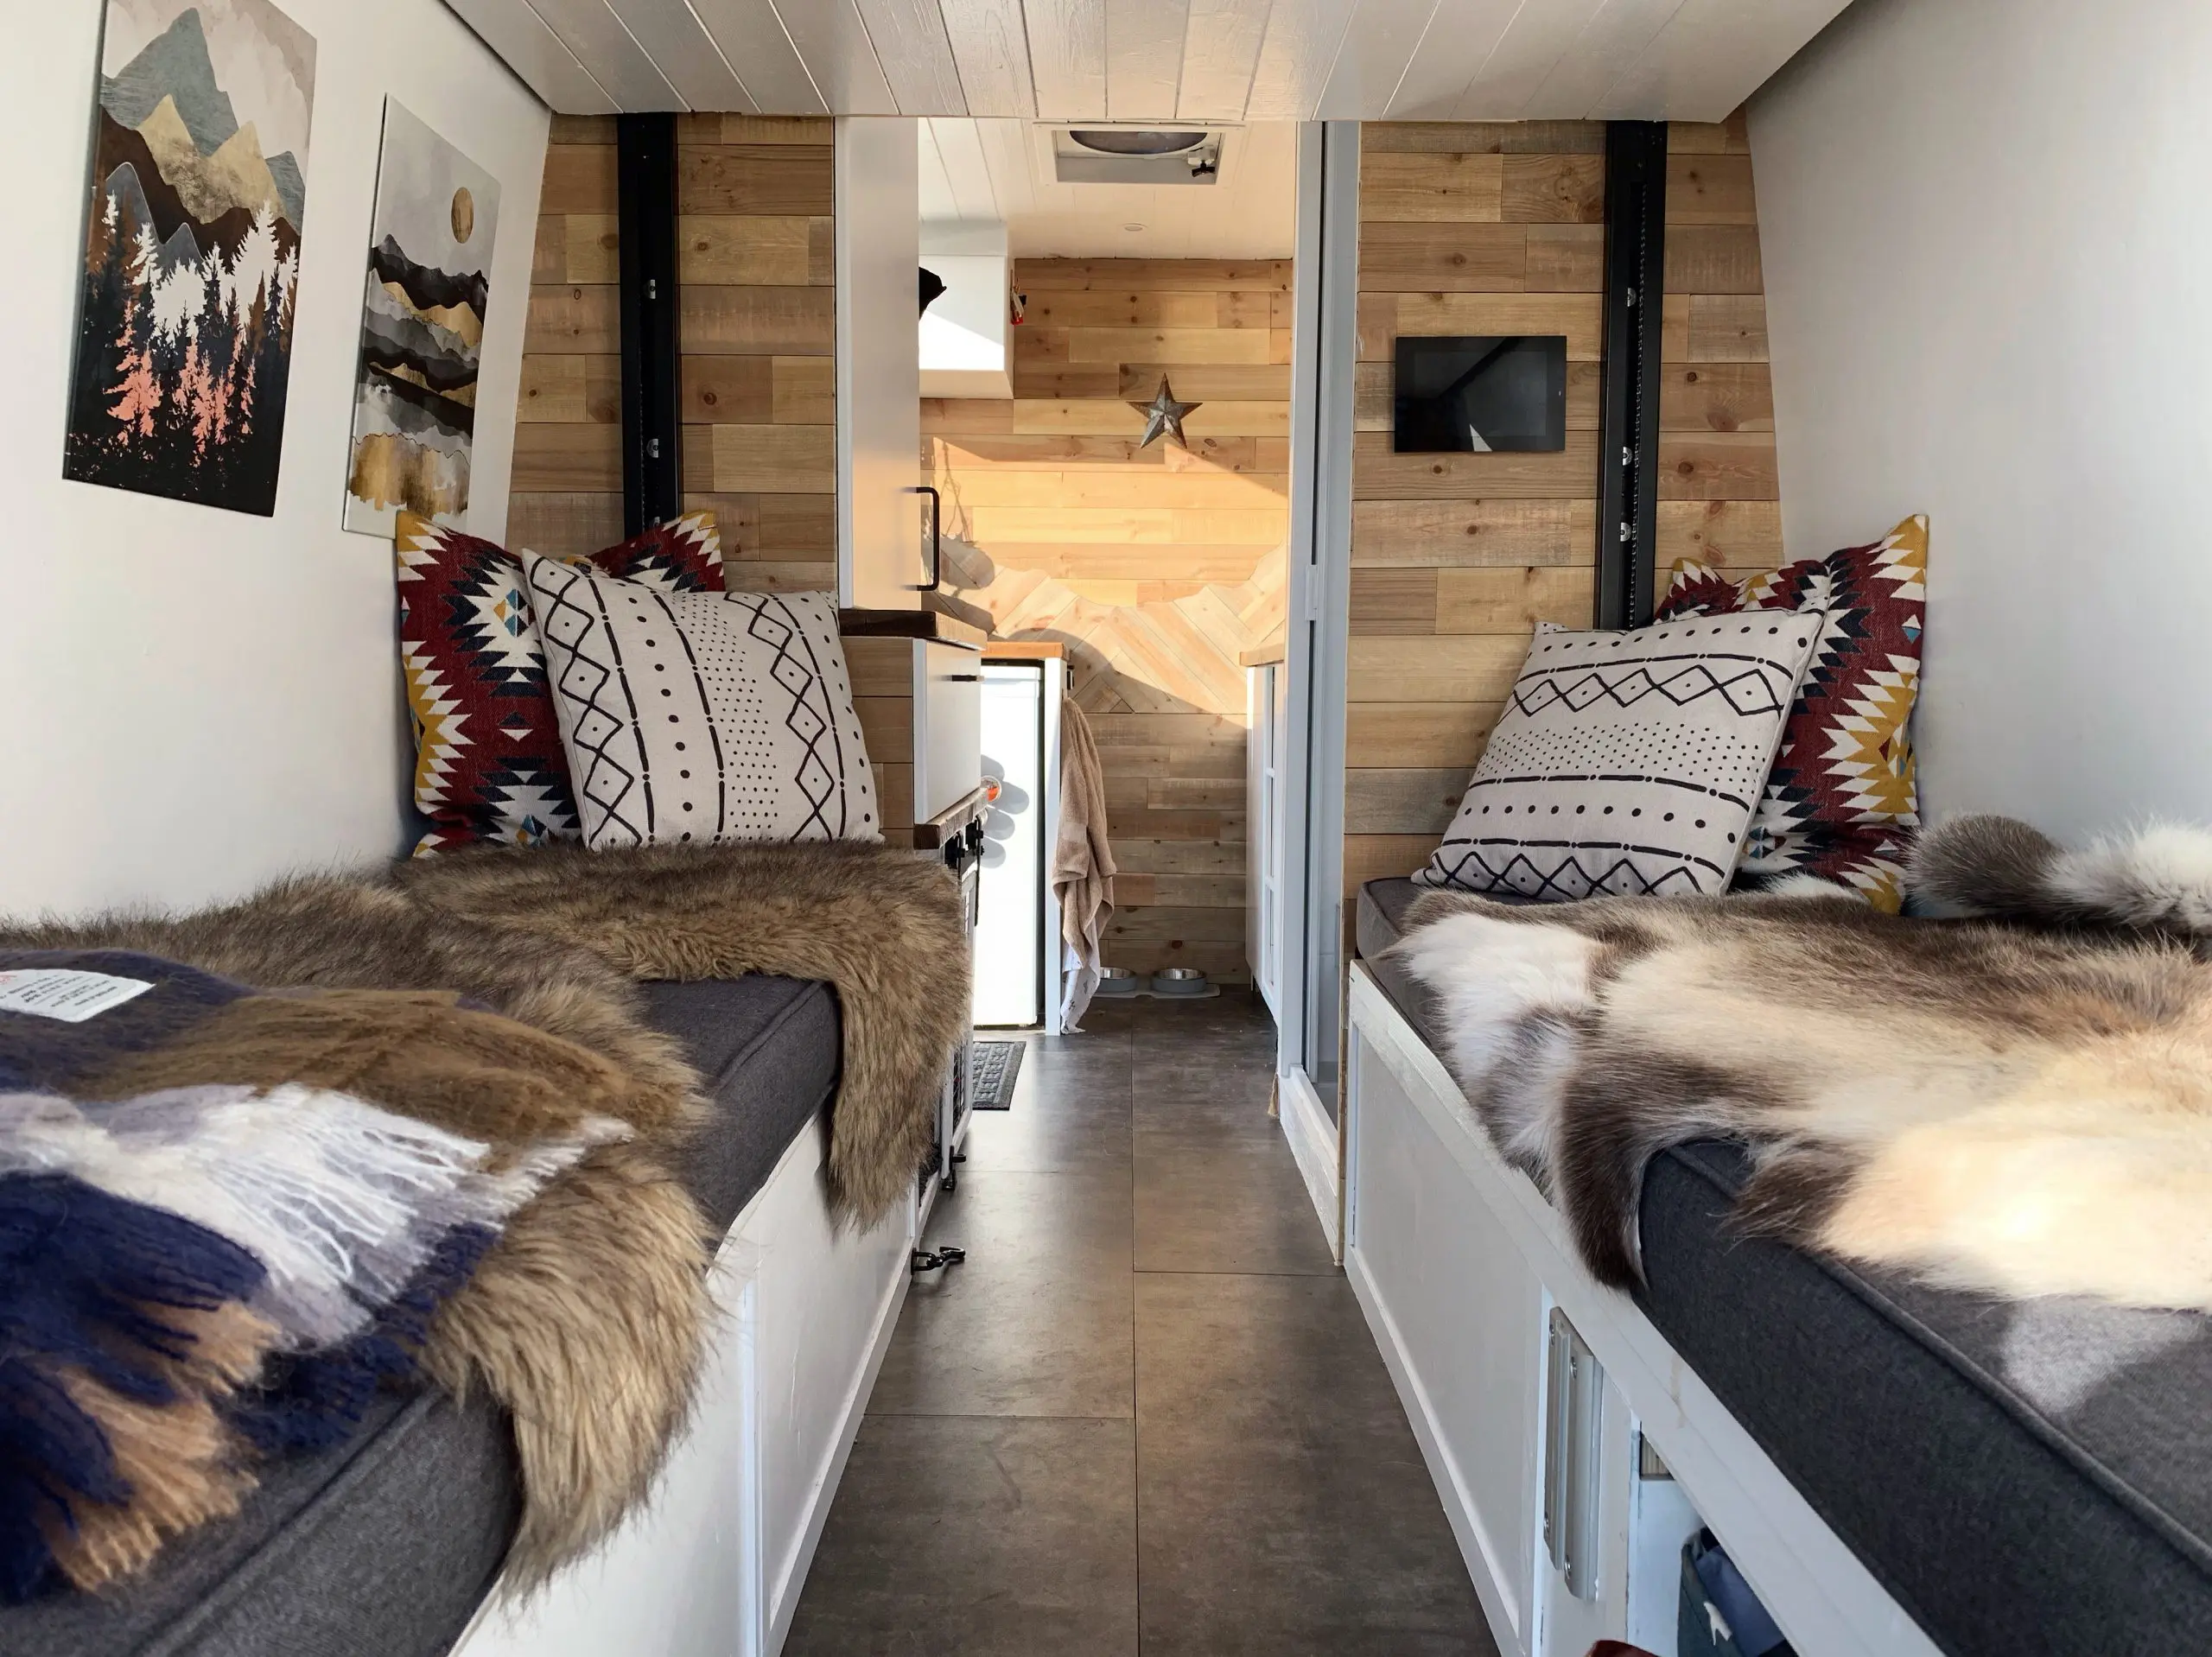
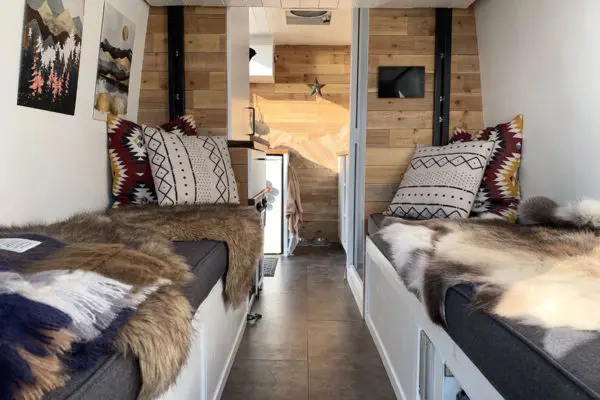
Many people don’t spot our bed in the roof and assume we opted for a traditional bench layout that converts into a bed. That option was ruled out almost immediately when deciding on our van conversion layout as let’s face it, who wants that hassle every morning and night?!
We went backwards and forwards on our van layout a lot! In fact it wasn’t until we got our bed in that we finally decided how the living space would work. We had six things we were sure about from the beginning and these formed the main components for our layout:
- A bed we didn’t have to make everyday
- Large comfortable sitting area
- A wood burner
- A toilet/shower
- A bedroom for Piglet
- A fixed bulkhead
Everyone has a different process for designing their van. My one tip is to sit down and have an honest conversation (with yourself and anyone else building the van) about what you need to feel comfortable, and what are the things you won’t compromise on. Once you have these essentials you can start working out the best and most creative way to incorporate them into your van build. The observant amongst you will realise that sadly one of the above items didn’t make the cut in the end… more on that later!
So why a bed lift?
Once we knew we wanted a ‘fixed’ bed we scoured the internet and Instagram for ideas. The easiest option by far would have been a fixed bed with garage area underneath. We looked at all the ways we could find of laying out a van in this way and struggled to find a layout that enabled us to still have plenty of seating and a permanent bathroom area. The only way to do it that we could think of was to have the bed across the van but as we’re both tall it would definitely have been a squeeze. Sleep is something neither of us will compromise on!
The other option we looked at was a murphy bed set up but we struggled to find any examples of this being done successfully in a van. We have since come across Brandon Buckley on Instagram. He does some stunning van conversions with fold down beds and the spaces are really beautiful. If we were to do another van conversion it’s definitely an option we’d take another look at.
View this post on Instagram
During our hours of research we eventually came across a few Sprinter van conversions with Happijac bed lifts. We’d never seen these before but loved the potential they offered for extra space. A bed lift allowed us to have a proper bed, that doesn’t require daily assembly as well as a huge seating area.
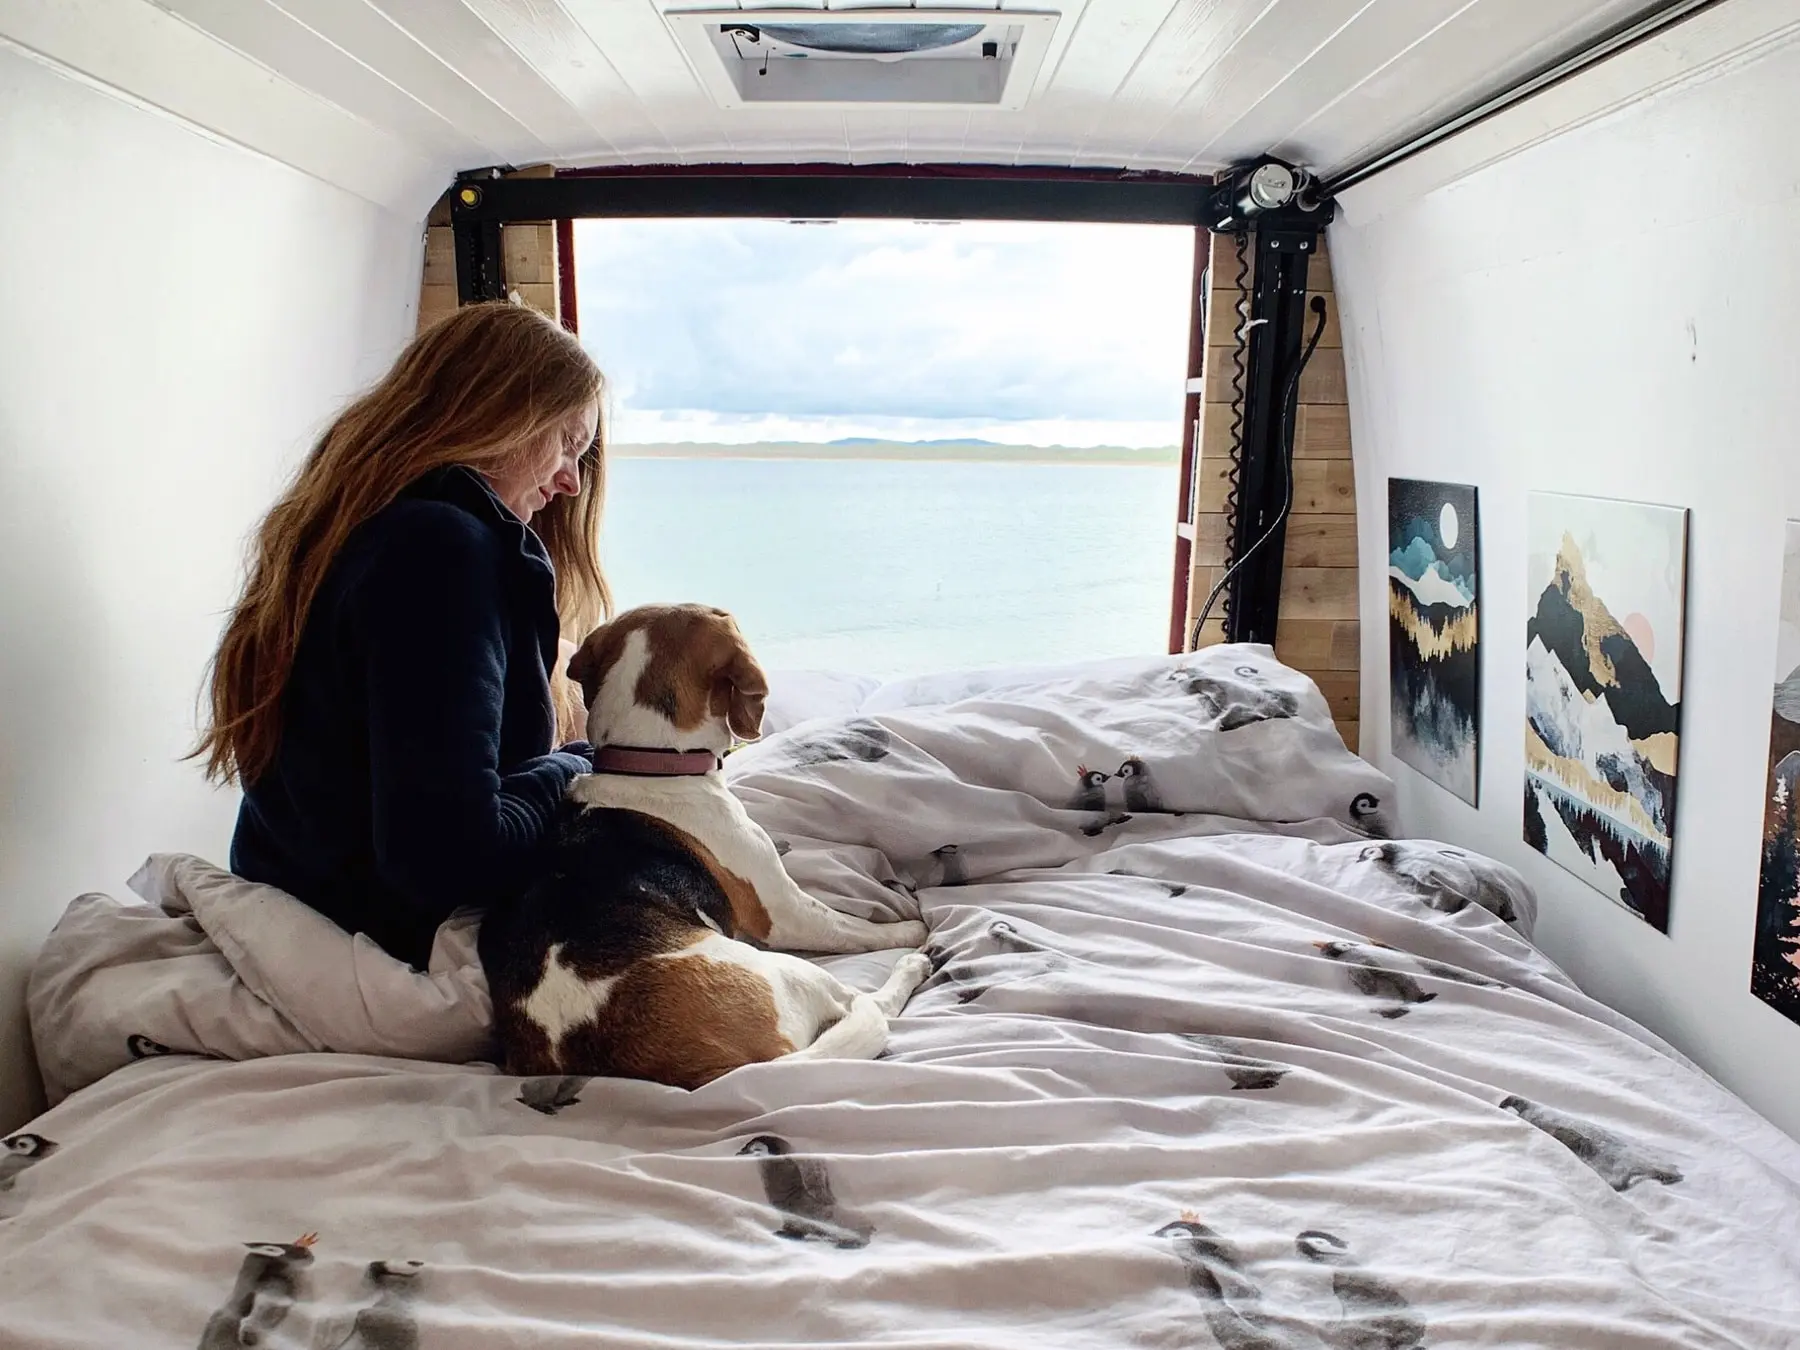
What is a Happijac Bed Lift?
Essentially it’s a bed on rails. You get two u-shaped uprights that become a rail for each corner of the bed, a connecting rod to keep everything moving together and a motor to drive it. Happijac do not provide the bed platform. We made this from a combination of aluminium and ply wood.
Once your Happijac Bed Lift is installed you can move the bed up and down using a simple switch or if you have a little bit of extra expertise you can connect it to an app to do it from your phone.
View this post on Instagram
We did look for other bed lift options at the time but struggled to find anything comparable to the Happijac. Being based in the UK meant importing our bed lift from America added a lot of time, expense and hassle to our build. We couldn’t find a suitable alternative in Europe though and it was definitely worth it for the additional space it created for us.

Any van layout regrets?
Our biggest regret is that we couldn’t fit a wood burner into our home on wheels. They make a space feel so cosy and homely and there’s some absolutely beautiful options out there for tiny homes. In the end there were three reasons we had to compromise on this one:
- Due to the shape of the Sprinter van the Happijac bed lift came further down the van than we’d hoped it would. This gave us less space to work with for everything else
- The position of the roof fans and solar panels to give maximum solar generation meant the flue for the wood burner could only come out at a few points, unfortunately these didn’t match any potential places inside the van to put the wood burner
- It came down to a choice between the wood burner and Piglet’s bedroom. We decided it was more important for her to have her own space, especially when there were other heating options we could use. Definitely the right decision for us as a family but I’m still always jealous when I see vans with cosy little fires in them!
Got a question about our Happijac Bed? Drop it below in the comments or send us message. If you’ve found this post useful and would like to support our content you can do so by clicking our Amazon UK or Amazon US links before your next purchase from Amazon (we’ll earn a small commission but it won’t cost you any more), or by treating us to a virtual coffee (or tea, or dog treats…you get the idea!)!
Like this post? Pin it!


With the happijac bed lift, what is the size of your mattress?
We use a standard UK double (135x190cm) but it’s totally flexible. The width of our bed was determined by the width of the van, the Happijac can be fitted for any size mattress you want. You can find more details on our bed and full sizing information on our Happijac Facts page.
Where did you buy your happijac from and how much did you pay please?
We purchased it direct from the manufacturers (Lippert Components) as there’s no re-sellers in the UK. Full cost breakdown and shipping details on our Happijac FAQ page
Could you raise the seating..up..so, you have some garage space..and, still have a lift bed?
Yes, you could design the space under the bed however you want. The bed can stop at any height it would just mean there was less head height under the bed when up and less space on the bed when it was down.
Hi, I just purchased a Ford Transit that has a HappiJack bed. The chain rattles when driving the van and creates an annoying noise. I have been able to reduce it by stuffing a rag between the chains near the motor. Have you experienced this rattle and do yo you have any better solutions than the rag? Thank you
How strange! No, we’ve not had that problem at all. The chain is taut within the frame so it wouldn’t be possible for it to rattle. I’m afraid I’ve no idea what could cause that, perhaps try contacting Lippert Components (the manufacturer) to see if they have heard of it before?
Mine rattles against the flimsy side rails but I have yet to install the actual frame and mattress.
I’m wondering if the weight might create the tension needed to avoid the loose chain rattling??
Erm, not really. Occasionally if we go over a big bump we might hear it rattle but otherwise no. It’s quite taut in the frame. We do have a sealed cab though so we don’t hear noises in the back as much as you would with an open cab, perhaps we just don’t hear it?
Does you chain ever rattle against the side rails??