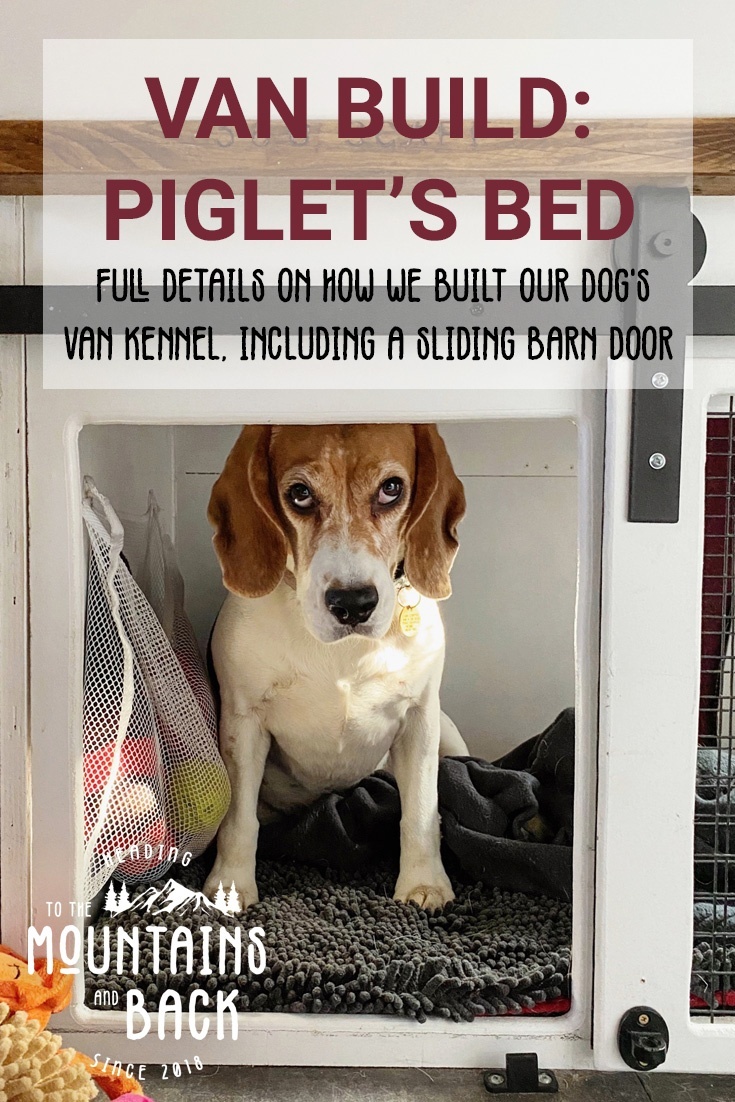
Van Build: Piglet’s Bedroom
Next up in our camper van build series is Piglet’s bedroom. We get lots of comments about her kennel area and we’re really pleased with how it came out. When designing our layout we went forwards and backwards on whether to have a dedicated space for our dog. Now that we’ve lived in the van we’re definitely glad we put some room aside for her.
Van Life with Dogs
If you’re preparing for van life with your dog make sure you think about not only where they’ll go but where all their things will go too! Granted they’re not as bad as a baby or child but if your dog is anything like ours (spoilt rotten) there’ll be all sorts of things you need to take on the road with you. We designed Piglet’s bedroom area so that we could also store all her toys, jackets and towels in that space, allowing it to double as a storage area as well.
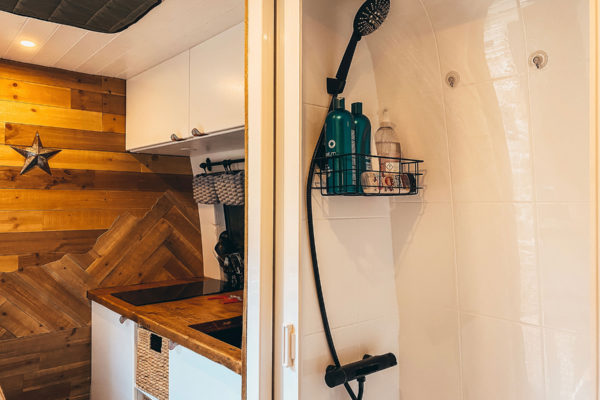
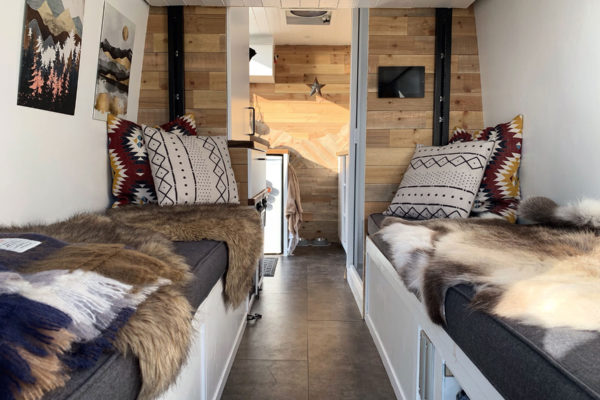
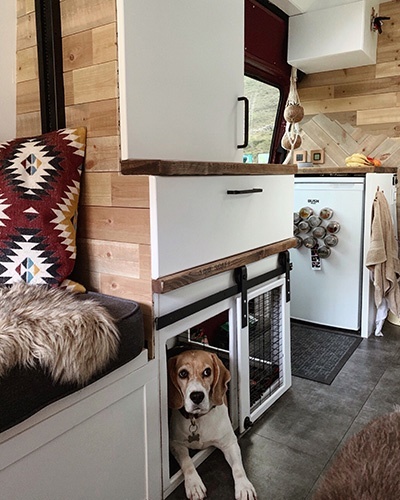
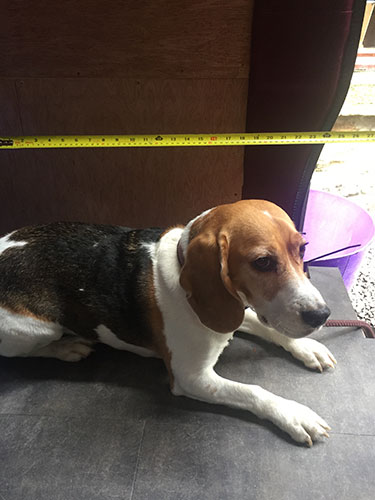
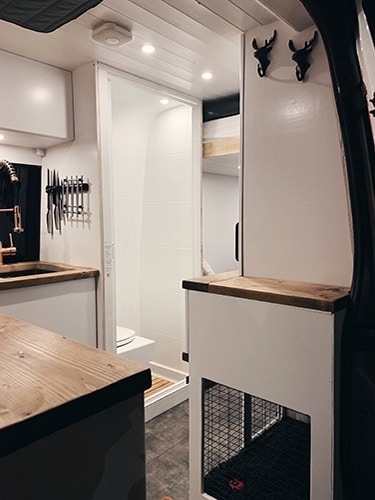
Piglet’s bedroom is opposite our van bathroom that features a toilet and shower. Above her bed is a large drawer for clothes and above that our small wardrobe. We modelled the size on her existing crate (we crate trained her as a puppy) so it’s a space she’s used too. It also fits standard sized dog beds which makes life a lot easier!
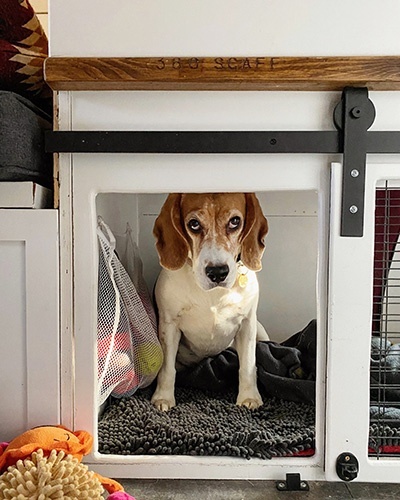
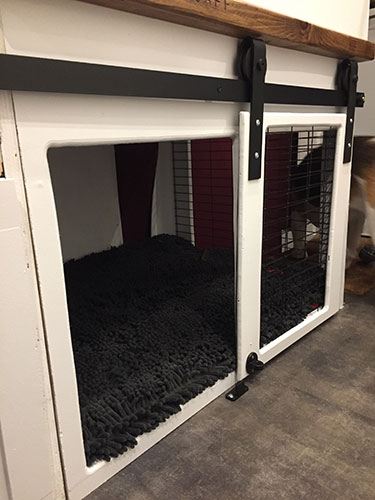
There is a bag for her toys on one wall and a bungee in the roof for her winter coats. The walls on two sides have large openings in them with metal mesh to keep it light and open, and we made a sliding door using a mini barn door rail system.
Construction
To make Piglet’s bedroom we used the following:
- Cabinet Sliding Barn Door
- Wire Mesh Panels
- Black Spray Paint
- 12mm Ply
- Black hook
- Angle brackets
- Petface Memory Foam Crate Mat
- Toy Hammock
- You can also find many of the items Piglet couldn’t live without in our Van Dog Shop.
Building the walls
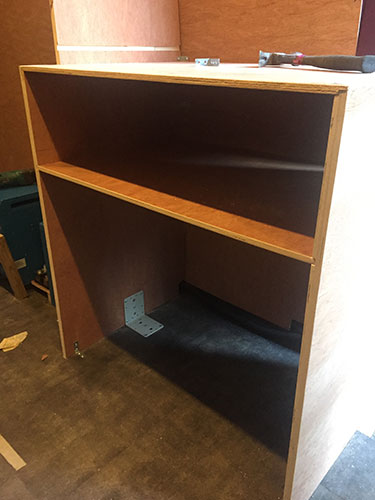
As with many of the things in our camper van build the walls of Piglet’s bedroom are multipurpose. The wall nearest the back of the van is made from 18mm plywood as it supports one of our Happijac bed lift uprights and therefore needs additional strength. The opposite wall nearest the fridge is made from 12mm ply and supports the drawer and wardrobe above.
Both walls are secured to the floor and side walls of the van with angle brackets. We then used a router to groove out a channel and slotted in (and glued) a shelf. This separates Piglet’s bedroom area from the drawer above, mainly to keep the dog hairs off our clothes as much as possible! We now have the space for her kennel with two sides and the top in place.
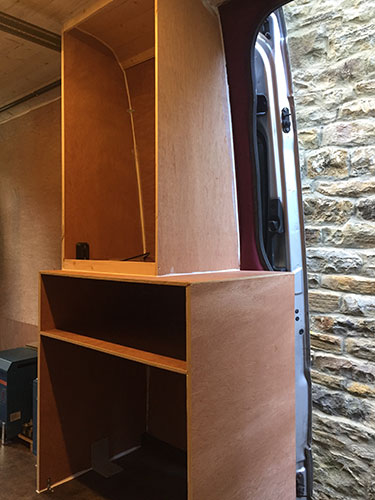
Making the windows
We cut out a large window on the side wall nearest the fridge using a router and used a rounding over bit to round off the edges. We then used galvanised steel mesh panels to cover the window which we cut to size (ensuring no sharp edges) and spray painted black. If you can find PVC coated or pre-painted black mesh panels this would definitely be easier but we struggled.
The front of her bedroom consists of two openings; one which lets her in and out of the bed and one that acts as a second window. We cut a piece of 12mm ply to fit the front section, used a jigsaw to cut the window openings (as the wood was not already fixed in place) and then rounded the edges again with the router.
Next we added black mesh panels as above to the window on the right. We then fixed the front section in place using angle brackets to the floor and existing side walls.

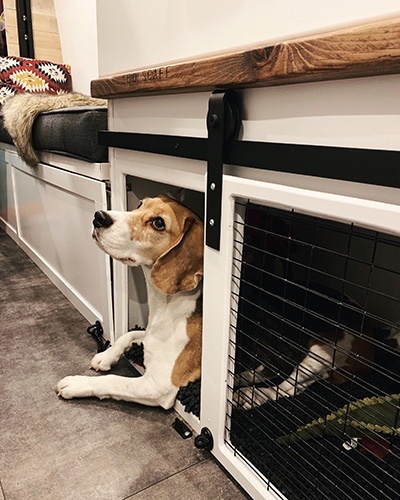
Sliding door
The final part to construct was the sliding barn door. This is one of my favourite parts of our camper van build. We bought a cabinet barn door rail and trimmed the rail to size. We cut a door to size out of 12mm plywood, cut a window out with the jigsaw, rounded the edges with the router and attached some black mesh.
The door was then attached to the sliding rail rollers and positioned on the rail. A stopper on the right ensures the door doesn’t slide too far, a small guide on the floor stops the door swinging forwards and finally we attached a hook on the edge of our bench to secure the door in place closed whilst travelling.
Finishing touches
To finish off we added some bungee straps to the ceiling of her crate where we store her winter jumpers and waterproof coats. We also added a toy hammock on the wall for all her toys and balls. We store her towels (essential for wiping muddy paws!) either under her bed or in the over-cab cupboard. Her bed is a standard Petface Memory Foam Crate Mat which is not only nice and padded but the noodle cover helps clean dirt off her as well.
Does she actually sleep in her bed?
Lets be honest, she doesn’t always sleep in her bedroom but it’s good to have a secure option for her. When we’re all in the van together she usually sleeps in her bed after a little persuasion! In winter she quite likes it in there as the heater points straight in to her bed so she has the warmest spot in the van!
Make sure you look at the rest of our camper van build series to see how we have constructed all the aspects of our little home on wheels. If you have any questions on how we built our van dog kennel please drop them below and we’ll do our best to help! If you’ve found this post useful and would like to support our content you can do so by clicking our Amazon UK or Amazon US links before your next purchase from Amazon (we’ll earn a small commission but it won’t cost you any more). Alternatively, we’d love if you treated us to a virtual coffee!
Like this post? Pin it!